Home
›
South Africa
›
Compare
›
ATTO 3 vs bZ4X
A proper head-to-head in South Africa — compare price, performance,
fuel economy or electric range, safety and the details that shape long-term ownership.
Extended Range EV
Electric
Single-Speed Reduction Gear
Current
ZAR 783,900
ex-showroom
⚡ 150 kW
🔧 310 Nm
BAIC B30
BAIC B40 Plus
BAIC X55 Plus
BMW 1 Series
BMW 2 Series Coupé
BMW 2 Series Gran Coupé
BMW 3 Series
BMW 4 Series Convertible
BMW 4 Series Coupé
BMW 4 Series Gran Coupé
BMW 5 Series
BMW 7 Series
BMW i4
BMW i5
BMW i7
BMW iX
BMW iX1
BMW iX2
BMW M2 Coupé
BMW M3 Sedan
BMW M3 Touring
BMW M4 Convertible
BMW M4 Coupé
BMW M5 Sedan
BMW M5 Touring
BMW X1
BMW X2
BMW X3
BMW X4
BMW X5
BMW X5 M
BMW X6
BMW X6 M
BMW X7
BMW XM
BYD ATTO 2 DM-i
BYD ATTO 3
BYD ATTO 8
BYD DOLPHIN
BYD DOLPHIN SURF
BYD SEAL
BYD SEALION 5 DM-i
BYD SEALION 6 DM-i
BYD SEALION 7
BYD SHARK 6 DMO
Changan Alsvin
Changan CS75 Pro
Changan Deepal S07
Changan Hunter Diesel
Changan Hunter K50 REEV
Changan UNI-S
Chery Tiggo 4 Cross
Chery Tiggo 4 Cross HEV
Chery Tiggo 4 Pro
Chery Tiggo 4 Pro Panel Van
Chery Tiggo 7
Chery Tiggo 7 PHEV
Chery Tiggo 7 Pro
Chery Tiggo 8 PHEV
Chery Tiggo 8 Pro
Chery Tiggo 8 Pro Max
Chery Tiggo 9
Chery Tiggo 9 PHEV
Dongfeng 007
Dongfeng 06
Dongfeng BOX
Ford Everest
Ford Mustang
Ford Ranger Platinum
Ford Ranger Raptor
Ford Ranger Sport
Ford Ranger Tremor
Ford Ranger Wildtrak
Ford Ranger XL
Ford Ranger XLT
Ford Territory
Ford Tourneo Custom
Ford Transit Custom
Ford Transit Van
Foton Asambe Taxi
Foton eAumark
Foton eTruckmate
Foton eView Panel Van
Foton Miler
Foton Miler Lite
Foton Truckmate
Foton Tunland G7 Double Cab
Foton Tunland G7 Single Cab
Foton Tunland V7 Double Cab
Foton Tunland V9 Double Cab
Foton View Luxury Shuttlebus
Foton View Panel Van
Geely Coolray
Geely E2
Geely E5 Electric
Geely E5 EM-i
GWM H6
GWM H6 GT
GWM H6 GT PHEV
GWM H6 PHEV
GWM H7
GWM Jolion
GWM Jolion Pro
GWM Jolion Pro Limited
GWM Ora 03
GWM ORA 5
GWM P300
GWM P500
GWM Tank 300
GWM Tank 500
Honda Amaze
Honda Civic RS
Honda Civic Type R
Honda CR-V
Honda Elevate
Honda Fit
Honda HR-V
Hyundai ALCAZAR
Hyundai EX-8 Chassis Cab
Hyundai EX-8 Dropside
Hyundai EX-8 Tipper
Hyundai EX-8 Van Body
Hyundai EXTER
Hyundai Grand i10
Hyundai Grand i10 Cargo
Hyundai Grand i10 Sedan
Hyundai H-100 Chassis Cab
Hyundai H-100 Deck
Hyundai H-100 Tipper
Hyundai i20
Hyundai Santa Fe Hybrid
Hyundai Staria
Hyundai Staria Panelvan
Hyundai Tucson
Hyundai Venue Cargo
iCAUR 03T
iCAUR V23
Isuzu D-Max Arctic Trucks AT35
Isuzu D-Max Double Cab
Isuzu D-Max Extended Cab
Isuzu D-Max Single Cab
Isuzu D-Max X-Rider
Isuzu MU-X
JAC T6 Single Cab
JAC T8 Double Cab
JAC T9 Double Cab
JAC X200 Double Cab
JAC X200 EV
JAC X200 Single Cab
Jaecoo J5
Jaecoo J7
Jaecoo J7 SHS
Jetour Dashing
Jetour T1
Jetour T1 i-DM
Jetour T2
Jetour T2 i-DM
Jetour X70 Plus
KIA Carens
KIA Carnival
KIA K2500
KIA K2700
KIA Pegas
KIA Picanto
KIA Picanto Panel Van
KIA Seltos
KIA Sonet
KIA Sonet Panel Van
KIA Sorento
KIA Sportage
KIA Tasman
LDV D90
LDV Deliver 9
LDV G10+ Van
LDV T60 Double Cab
LDV T60 Utility Single Cab
LDV Terron 9
Leapmotor C10 REEV
LEPAS L4
Lexus ES
Lexus GX
Lexus LX
Lexus NX
Lexus RX
Lexus RZ
Lexus UX
Mahindra Bolero
Mahindra Bolero MaXX Pik-Up
Mahindra Karoo Special Edition Dawn
Mahindra Karoo Special Edition Dew
Mahindra Karoo Special Edition Dusk
Mahindra Karoo Special Edition Storm
Mahindra Pik Up Double Cab
Mahindra Pik Up Single Cab
Mahindra S4 Game Viewer
Mahindra S4 Refrigeration
Mahindra S6 Ambulance
Mahindra S6 Mining
Mahindra Scorpio-N
Mahindra XUV3XO
Mahindra XUV 3XO Xprez Panel Van
Mahindra XUV700
Mazda CX-3
Mazda CX-30
Mazda CX-5
Mazda CX-60
Mazda Mazda2
Mazda Mazda3
Mercedes-Benz A-Class
Mercedes-Benz AMG GT 4-Door Coupé
Mercedes-Benz AMG GT Coupé
Mercedes-Benz B-Class
Mercedes-Benz C-Class
Mercedes-Benz CLA Coupé
Mercedes-Benz CLE Cabriolet
Mercedes-Benz CLE Coupé
Mercedes-Benz E-Class
Mercedes-Benz EQA
Mercedes-Benz EQB
Mercedes-Benz EQE Sedan
Mercedes-Benz EQE SUV
Mercedes-Benz EQS Sedan
Mercedes-Benz EQS SUV
Mercedes-Benz EQV
Mercedes-Benz G 580 with EQ Technology
Mercedes-Benz G-Class
Mercedes-Benz GLA
Mercedes-Benz GLB
Mercedes-Benz GLC
Mercedes-Benz GLC Coupé
Mercedes-Benz GLE
Mercedes-Benz GLE Coupé
Mercedes-Benz GLS
Mercedes-Benz Mercedes-Maybach GLS
Mercedes-Benz Mercedes-Maybach S-Class
Mercedes-Benz Mercedes-Maybach SL
Mercedes-Benz S-Class
Mercedes-Benz SL Roadster
Mercedes-Benz V-Class
MG Cyberster
MG HS
MG MG3
MG ZS
MG ZS Pro
Mitsubishi Destinator
Mitsubishi Eclipse Cross
Mitsubishi Outlander
Mitsubishi Outlander Sport
Mitsubishi Pajero Sport
Mitsubishi Triton Double Cab
Mitsubishi Triton Single Cab
Mitsubishi Xpander
Nissan Magnite
Nissan Navara Double Cab
Nissan Navara Single Cab
Nissan X-Trail
Omoda C5
Omoda C5 SHS
Omoda C5-X
Omoda C7
Omoda C9
Omoda C9 SHS
Renault Captur
Renault Duster
Renault Kiger
Renault Kwid
Renault Kwid Limited Edition
Renault Trafic Panel Van
Renault Trafic Passenger
Renault Triber
Renault Triber Express
Renault Triber Express III
RIDDARA RD6
Rolls-Royce Black Badge Cullinan
Rolls-Royce Black Badge Ghost
Rolls-Royce Black Badge Spectre Series II
Rolls-Royce Cullinan
Rolls-Royce Ghost
Rolls-Royce Ghost Extended
Rolls-Royce Phantom
Rolls-Royce Phantom Extended
Rolls-Royce Spectre Series II
Suzuki Across
Suzuki Baleno
Suzuki Celerio
Suzuki Dzire
Suzuki Eeco
Suzuki Ertiga
Suzuki Fronx
Suzuki Grand Vitara
Suzuki Ignis
Suzuki Jimny
Suzuki Jimny 5-Door
Suzuki S-Presso
Suzuki Super Carry
Suzuki Swift
Suzuki Swift Sport
Suzuki XL6
Tata Curvv
Tata Harrier
Tata Punch
Tata Tiago
Toyota bZ4X
Toyota Coaster
Toyota Corolla
Toyota Corolla Cross
Toyota Corolla Hatch
Toyota Fortuner
Toyota GR86
Toyota GR Corolla
Toyota GR Supra
Toyota GR Yaris
Toyota Hiace
Toyota Hiace Ses'fikile
Toyota Hilux Double Cab
Toyota Hilux Single Cab
Toyota Hilux Xtra Cab
Toyota Land Cruiser 300
Toyota Land Cruiser 76
Toyota Land Cruiser 79 Double Cab
Toyota Land Cruiser 79 Single Cab
Toyota Land Cruiser FJ
Toyota Land Cruiser Prado
Toyota Quantum Bus
Toyota Quantum Panel Van
Toyota RAV4
Toyota Rumion
Toyota Starlet
Toyota Starlet Cross
Toyota Urban Cruiser
Toyota Vitz
Volkswagen Amarok
Volkswagen Caddy
Volkswagen Caddy Cargo
Volkswagen Crafter
Volkswagen Golf 1.4 TSI
Volkswagen Golf GTI
Volkswagen Polo
Volkswagen Polo Sedan
Volkswagen Polo-Vivo
Volkswagen Taigo
Volkswagen Tayron
Volkswagen T-Cross
Volkswagen Tiguan
Volkswagen Touareg
Volkswagen Transporter Kombi
Volkswagen Transporter Vans
Volkswagen T-Roc
Volkswagen Vivo Xpress
BAIC B70 / City Hunter (upcoming)
BAIC B81 (upcoming)
BMW iX3 (upcoming)
BMW X5 (G65) (upcoming)
Changan Deepal S05 REEV (upcoming)
Chery Chery Q (upcoming)
Chery KP31 (upcoming)
Chery Tiggo V (upcoming)
DENZA B5 (upcoming)
DENZA B8 (upcoming)
DENZA D9 (upcoming)
DENZA N9 (upcoming)
Dongfeng FRIDAY REEV (upcoming)
Ford Ranger Super Duty (upcoming)
Hyundai All-new GT-11 Mighty (upcoming)
Hyundai New CRETA (upcoming)
iCAUR V27 (upcoming)
JAC JS9 (upcoming)
JAC T9 PHEV (upcoming)
Jaecoo J5 EV (upcoming)
Jaecoo J5 SHS (upcoming)
LDV G90 (upcoming)
Leapmotor B03X (upcoming)
Leapmotor B05 (upcoming)
Leapmotor B10 (upcoming)
LEPAS L6 (upcoming)
LEPAS L8 (upcoming)
Lexus All-New ES (upcoming)
Mazda All-New CX-5 (upcoming)
Mercedes-Benz AMG GT 4-Door Electric (upcoming)
Mercedes-Benz C-Class Electric (upcoming)
Mercedes-Benz CLA Electric (upcoming)
Mercedes-Benz CLA Hybrid (upcoming)
Mercedes-Benz GLB Electric (upcoming)
Mercedes-Benz GLC Electric (upcoming)
Mercedes-Benz S-Class facelift (upcoming)
MG HS PHEV (upcoming)
Nissan New Patrol (upcoming)
Nissan Tekton (upcoming)
Omoda C4 (upcoming)
Tata Osprey (upcoming)
Tata Sierra (upcoming)
Toyota Hilux Single Cab New Generation (upcoming)
Volkswagen T7 Multivan Caravelle (upcoming)
Volkswagen T-Roc Second Generation (upcoming)
ZEEKR 001 (upcoming)
ZEEKR 009 (upcoming)
ZEEKR 7X (upcoming)
ZEEKR X (upcoming)
Ford EcoSport (archived)
Ford Puma (archived)
Ford Ranger (archived)
GWM Cannon (archived)
GWM Cannon Alpha (archived)
GWM H1 (archived)
GWM H2 (archived)
GWM Jolion GT (archived)
GWM Ora Good Cat (archived)
GWM P Series (archived)
GWM Steed 5 (archived)
GWM Steed 6 (archived)
Hyundai Creta (archived)
Hyundai Elantra (archived)
Hyundai H1 (archived)
Hyundai i30 (archived)
Hyundai IONIQ 5 (archived)
Hyundai IONIQ 6 (archived)
Hyundai Kona (archived)
Hyundai Palisade (archived)
Hyundai Santa Fe (archived)
Hyundai Venue (archived)
Isuzu D-Max (archived)
Mahindra KUV100 (archived)
Mahindra XUV300 (archived)
Mahindra XUV500 (archived)
Nissan Navara (archived)
Nissan NP200 (archived)
Nissan NP300 Hardbody (archived)
Nissan Patrol (archived)
Nissan Qashqai (archived)
Rolls-Royce Black Badge Wraith (archived)
Rolls-Royce Dawn (archived)
Rolls-Royce Phantom Coupé (archived)
Rolls-Royce Phantom Drophead Coupé (archived)
Rolls-Royce Spectre (archived)
Rolls-Royce Wraith (archived)
Toyota Agya (archived)
Toyota Camry (archived)
Toyota C-HR (archived)
Toyota Corolla Sedan (archived)
Toyota Hilux (archived)
Toyota Hilux Custom Builds (archived)
Toyota Land Cruiser 79 (archived)
Toyota Quantum (archived)
Toyota Yaris (archived)
Volkswagen Golf (archived)
Volkswagen Tiguan Allspace (archived)
VS
bZ4X AWD
Electric
Single-Speed Reduction Gear
Current
ZAR 1,182,800
ex-showroom
⚡ 255 kW
🔧 269 Nm
BAIC B30
BAIC B40 Plus
BAIC X55 Plus
BMW 1 Series
BMW 2 Series Coupé
BMW 2 Series Gran Coupé
BMW 3 Series
BMW 4 Series Convertible
BMW 4 Series Coupé
BMW 4 Series Gran Coupé
BMW 5 Series
BMW 7 Series
BMW i4
BMW i5
BMW i7
BMW iX
BMW iX1
BMW iX2
BMW M2 Coupé
BMW M3 Sedan
BMW M3 Touring
BMW M4 Convertible
BMW M4 Coupé
BMW M5 Sedan
BMW M5 Touring
BMW X1
BMW X2
BMW X3
BMW X4
BMW X5
BMW X5 M
BMW X6
BMW X6 M
BMW X7
BMW XM
BYD ATTO 2 DM-i
BYD ATTO 3
BYD ATTO 8
BYD DOLPHIN
BYD DOLPHIN SURF
BYD SEAL
BYD SEALION 5 DM-i
BYD SEALION 6 DM-i
BYD SEALION 7
BYD SHARK 6 DMO
Changan Alsvin
Changan CS75 Pro
Changan Deepal S07
Changan Hunter Diesel
Changan Hunter K50 REEV
Changan UNI-S
Chery Tiggo 4 Cross
Chery Tiggo 4 Cross HEV
Chery Tiggo 4 Pro
Chery Tiggo 4 Pro Panel Van
Chery Tiggo 7
Chery Tiggo 7 PHEV
Chery Tiggo 7 Pro
Chery Tiggo 8 PHEV
Chery Tiggo 8 Pro
Chery Tiggo 8 Pro Max
Chery Tiggo 9
Chery Tiggo 9 PHEV
Dongfeng 007
Dongfeng 06
Dongfeng BOX
Ford Everest
Ford Mustang
Ford Ranger Platinum
Ford Ranger Raptor
Ford Ranger Sport
Ford Ranger Tremor
Ford Ranger Wildtrak
Ford Ranger XL
Ford Ranger XLT
Ford Territory
Ford Tourneo Custom
Ford Transit Custom
Ford Transit Van
Foton Asambe Taxi
Foton eAumark
Foton eTruckmate
Foton eView Panel Van
Foton Miler
Foton Miler Lite
Foton Truckmate
Foton Tunland G7 Double Cab
Foton Tunland G7 Single Cab
Foton Tunland V7 Double Cab
Foton Tunland V9 Double Cab
Foton View Luxury Shuttlebus
Foton View Panel Van
Geely Coolray
Geely E2
Geely E5 Electric
Geely E5 EM-i
GWM H6
GWM H6 GT
GWM H6 GT PHEV
GWM H6 PHEV
GWM H7
GWM Jolion
GWM Jolion Pro
GWM Jolion Pro Limited
GWM Ora 03
GWM ORA 5
GWM P300
GWM P500
GWM Tank 300
GWM Tank 500
Honda Amaze
Honda Civic RS
Honda Civic Type R
Honda CR-V
Honda Elevate
Honda Fit
Honda HR-V
Hyundai ALCAZAR
Hyundai EX-8 Chassis Cab
Hyundai EX-8 Dropside
Hyundai EX-8 Tipper
Hyundai EX-8 Van Body
Hyundai EXTER
Hyundai Grand i10
Hyundai Grand i10 Cargo
Hyundai Grand i10 Sedan
Hyundai H-100 Chassis Cab
Hyundai H-100 Deck
Hyundai H-100 Tipper
Hyundai i20
Hyundai Santa Fe Hybrid
Hyundai Staria
Hyundai Staria Panelvan
Hyundai Tucson
Hyundai Venue Cargo
iCAUR 03T
iCAUR V23
Isuzu D-Max Arctic Trucks AT35
Isuzu D-Max Double Cab
Isuzu D-Max Extended Cab
Isuzu D-Max Single Cab
Isuzu D-Max X-Rider
Isuzu MU-X
JAC T6 Single Cab
JAC T8 Double Cab
JAC T9 Double Cab
JAC X200 Double Cab
JAC X200 EV
JAC X200 Single Cab
Jaecoo J5
Jaecoo J7
Jaecoo J7 SHS
Jetour Dashing
Jetour T1
Jetour T1 i-DM
Jetour T2
Jetour T2 i-DM
Jetour X70 Plus
KIA Carens
KIA Carnival
KIA K2500
KIA K2700
KIA Pegas
KIA Picanto
KIA Picanto Panel Van
KIA Seltos
KIA Sonet
KIA Sonet Panel Van
KIA Sorento
KIA Sportage
KIA Tasman
LDV D90
LDV Deliver 9
LDV G10+ Van
LDV T60 Double Cab
LDV T60 Utility Single Cab
LDV Terron 9
Leapmotor C10 REEV
LEPAS L4
Lexus ES
Lexus GX
Lexus LX
Lexus NX
Lexus RX
Lexus RZ
Lexus UX
Mahindra Bolero
Mahindra Bolero MaXX Pik-Up
Mahindra Karoo Special Edition Dawn
Mahindra Karoo Special Edition Dew
Mahindra Karoo Special Edition Dusk
Mahindra Karoo Special Edition Storm
Mahindra Pik Up Double Cab
Mahindra Pik Up Single Cab
Mahindra S4 Game Viewer
Mahindra S4 Refrigeration
Mahindra S6 Ambulance
Mahindra S6 Mining
Mahindra Scorpio-N
Mahindra XUV3XO
Mahindra XUV 3XO Xprez Panel Van
Mahindra XUV700
Mazda CX-3
Mazda CX-30
Mazda CX-5
Mazda CX-60
Mazda Mazda2
Mazda Mazda3
Mercedes-Benz A-Class
Mercedes-Benz AMG GT 4-Door Coupé
Mercedes-Benz AMG GT Coupé
Mercedes-Benz B-Class
Mercedes-Benz C-Class
Mercedes-Benz CLA Coupé
Mercedes-Benz CLE Cabriolet
Mercedes-Benz CLE Coupé
Mercedes-Benz E-Class
Mercedes-Benz EQA
Mercedes-Benz EQB
Mercedes-Benz EQE Sedan
Mercedes-Benz EQE SUV
Mercedes-Benz EQS Sedan
Mercedes-Benz EQS SUV
Mercedes-Benz EQV
Mercedes-Benz G 580 with EQ Technology
Mercedes-Benz G-Class
Mercedes-Benz GLA
Mercedes-Benz GLB
Mercedes-Benz GLC
Mercedes-Benz GLC Coupé
Mercedes-Benz GLE
Mercedes-Benz GLE Coupé
Mercedes-Benz GLS
Mercedes-Benz Mercedes-Maybach GLS
Mercedes-Benz Mercedes-Maybach S-Class
Mercedes-Benz Mercedes-Maybach SL
Mercedes-Benz S-Class
Mercedes-Benz SL Roadster
Mercedes-Benz V-Class
MG Cyberster
MG HS
MG MG3
MG ZS
MG ZS Pro
Mitsubishi Destinator
Mitsubishi Eclipse Cross
Mitsubishi Outlander
Mitsubishi Outlander Sport
Mitsubishi Pajero Sport
Mitsubishi Triton Double Cab
Mitsubishi Triton Single Cab
Mitsubishi Xpander
Nissan Magnite
Nissan Navara Double Cab
Nissan Navara Single Cab
Nissan X-Trail
Omoda C5
Omoda C5 SHS
Omoda C5-X
Omoda C7
Omoda C9
Omoda C9 SHS
Renault Captur
Renault Duster
Renault Kiger
Renault Kwid
Renault Kwid Limited Edition
Renault Trafic Panel Van
Renault Trafic Passenger
Renault Triber
Renault Triber Express
Renault Triber Express III
RIDDARA RD6
Rolls-Royce Black Badge Cullinan
Rolls-Royce Black Badge Ghost
Rolls-Royce Black Badge Spectre Series II
Rolls-Royce Cullinan
Rolls-Royce Ghost
Rolls-Royce Ghost Extended
Rolls-Royce Phantom
Rolls-Royce Phantom Extended
Rolls-Royce Spectre Series II
Suzuki Across
Suzuki Baleno
Suzuki Celerio
Suzuki Dzire
Suzuki Eeco
Suzuki Ertiga
Suzuki Fronx
Suzuki Grand Vitara
Suzuki Ignis
Suzuki Jimny
Suzuki Jimny 5-Door
Suzuki S-Presso
Suzuki Super Carry
Suzuki Swift
Suzuki Swift Sport
Suzuki XL6
Tata Curvv
Tata Harrier
Tata Punch
Tata Tiago
Toyota bZ4X
Toyota Coaster
Toyota Corolla
Toyota Corolla Cross
Toyota Corolla Hatch
Toyota Fortuner
Toyota GR86
Toyota GR Corolla
Toyota GR Supra
Toyota GR Yaris
Toyota Hiace
Toyota Hiace Ses'fikile
Toyota Hilux Double Cab
Toyota Hilux Single Cab
Toyota Hilux Xtra Cab
Toyota Land Cruiser 300
Toyota Land Cruiser 76
Toyota Land Cruiser 79 Double Cab
Toyota Land Cruiser 79 Single Cab
Toyota Land Cruiser FJ
Toyota Land Cruiser Prado
Toyota Quantum Bus
Toyota Quantum Panel Van
Toyota RAV4
Toyota Rumion
Toyota Starlet
Toyota Starlet Cross
Toyota Urban Cruiser
Toyota Vitz
Volkswagen Amarok
Volkswagen Caddy
Volkswagen Caddy Cargo
Volkswagen Crafter
Volkswagen Golf 1.4 TSI
Volkswagen Golf GTI
Volkswagen Polo
Volkswagen Polo Sedan
Volkswagen Polo-Vivo
Volkswagen Taigo
Volkswagen Tayron
Volkswagen T-Cross
Volkswagen Tiguan
Volkswagen Touareg
Volkswagen Transporter Kombi
Volkswagen Transporter Vans
Volkswagen T-Roc
Volkswagen Vivo Xpress
BAIC B70 / City Hunter (upcoming)
BAIC B81 (upcoming)
BMW iX3 (upcoming)
BMW X5 (G65) (upcoming)
Changan Deepal S05 REEV (upcoming)
Chery Chery Q (upcoming)
Chery KP31 (upcoming)
Chery Tiggo V (upcoming)
DENZA B5 (upcoming)
DENZA B8 (upcoming)
DENZA D9 (upcoming)
DENZA N9 (upcoming)
Dongfeng FRIDAY REEV (upcoming)
Ford Ranger Super Duty (upcoming)
Hyundai All-new GT-11 Mighty (upcoming)
Hyundai New CRETA (upcoming)
iCAUR V27 (upcoming)
JAC JS9 (upcoming)
JAC T9 PHEV (upcoming)
Jaecoo J5 EV (upcoming)
Jaecoo J5 SHS (upcoming)
LDV G90 (upcoming)
Leapmotor B03X (upcoming)
Leapmotor B05 (upcoming)
Leapmotor B10 (upcoming)
LEPAS L6 (upcoming)
LEPAS L8 (upcoming)
Lexus All-New ES (upcoming)
Mazda All-New CX-5 (upcoming)
Mercedes-Benz AMG GT 4-Door Electric (upcoming)
Mercedes-Benz C-Class Electric (upcoming)
Mercedes-Benz CLA Electric (upcoming)
Mercedes-Benz CLA Hybrid (upcoming)
Mercedes-Benz GLB Electric (upcoming)
Mercedes-Benz GLC Electric (upcoming)
Mercedes-Benz S-Class facelift (upcoming)
MG HS PHEV (upcoming)
Nissan New Patrol (upcoming)
Nissan Tekton (upcoming)
Omoda C4 (upcoming)
Tata Osprey (upcoming)
Tata Sierra (upcoming)
Toyota Hilux Single Cab New Generation (upcoming)
Volkswagen T7 Multivan Caravelle (upcoming)
Volkswagen T-Roc Second Generation (upcoming)
ZEEKR 001 (upcoming)
ZEEKR 009 (upcoming)
ZEEKR 7X (upcoming)
ZEEKR X (upcoming)
Ford EcoSport (archived)
Ford Puma (archived)
Ford Ranger (archived)
GWM Cannon (archived)
GWM Cannon Alpha (archived)
GWM H1 (archived)
GWM H2 (archived)
GWM Jolion GT (archived)
GWM Ora Good Cat (archived)
GWM P Series (archived)
GWM Steed 5 (archived)
GWM Steed 6 (archived)
Hyundai Creta (archived)
Hyundai Elantra (archived)
Hyundai H1 (archived)
Hyundai i30 (archived)
Hyundai IONIQ 5 (archived)
Hyundai IONIQ 6 (archived)
Hyundai Kona (archived)
Hyundai Palisade (archived)
Hyundai Santa Fe (archived)
Hyundai Venue (archived)
Isuzu D-Max (archived)
Mahindra KUV100 (archived)
Mahindra XUV300 (archived)
Mahindra XUV500 (archived)
Nissan Navara (archived)
Nissan NP200 (archived)
Nissan NP300 Hardbody (archived)
Nissan Patrol (archived)
Nissan Qashqai (archived)
Rolls-Royce Black Badge Wraith (archived)
Rolls-Royce Dawn (archived)
Rolls-Royce Phantom Coupé (archived)
Rolls-Royce Phantom Drophead Coupé (archived)
Rolls-Royce Spectre (archived)
Rolls-Royce Wraith (archived)
Toyota Agya (archived)
Toyota Camry (archived)
Toyota C-HR (archived)
Toyota Corolla Sedan (archived)
Toyota Hilux (archived)
Toyota Hilux Custom Builds (archived)
Toyota Land Cruiser 79 (archived)
Toyota Quantum (archived)
Toyota Yaris (archived)
Volkswagen Golf (archived)
Volkswagen Tiguan Allspace (archived)
+
Add a 3rd car
Select a car to compare…
BAIC B30
BAIC B40 Plus
BAIC X55 Plus
BMW 1 Series
BMW 2 Series Coupé
BMW 2 Series Gran Coupé
BMW 3 Series
BMW 4 Series Convertible
BMW 4 Series Coupé
BMW 4 Series Gran Coupé
BMW 5 Series
BMW 7 Series
BMW i4
BMW i5
BMW i7
BMW iX
BMW iX1
BMW iX2
BMW M2 Coupé
BMW M3 Sedan
BMW M3 Touring
BMW M4 Convertible
BMW M4 Coupé
BMW M5 Sedan
BMW M5 Touring
BMW X1
BMW X2
BMW X3
BMW X4
BMW X5
BMW X5 M
BMW X6
BMW X6 M
BMW X7
BMW XM
BYD ATTO 2 DM-i
BYD ATTO 3
BYD ATTO 8
BYD DOLPHIN
BYD DOLPHIN SURF
BYD SEAL
BYD SEALION 5 DM-i
BYD SEALION 6 DM-i
BYD SEALION 7
BYD SHARK 6 DMO
Changan Alsvin
Changan CS75 Pro
Changan Deepal S07
Changan Hunter Diesel
Changan Hunter K50 REEV
Changan UNI-S
Chery Tiggo 4 Cross
Chery Tiggo 4 Cross HEV
Chery Tiggo 4 Pro
Chery Tiggo 4 Pro Panel Van
Chery Tiggo 7
Chery Tiggo 7 PHEV
Chery Tiggo 7 Pro
Chery Tiggo 8 PHEV
Chery Tiggo 8 Pro
Chery Tiggo 8 Pro Max
Chery Tiggo 9
Chery Tiggo 9 PHEV
Dongfeng 007
Dongfeng 06
Dongfeng BOX
Ford Everest
Ford Mustang
Ford Ranger Platinum
Ford Ranger Raptor
Ford Ranger Sport
Ford Ranger Tremor
Ford Ranger Wildtrak
Ford Ranger XL
Ford Ranger XLT
Ford Territory
Ford Tourneo Custom
Ford Transit Custom
Ford Transit Van
Foton Asambe Taxi
Foton eAumark
Foton eTruckmate
Foton eView Panel Van
Foton Miler
Foton Miler Lite
Foton Truckmate
Foton Tunland G7 Double Cab
Foton Tunland G7 Single Cab
Foton Tunland V7 Double Cab
Foton Tunland V9 Double Cab
Foton View Luxury Shuttlebus
Foton View Panel Van
Geely Coolray
Geely E2
Geely E5 Electric
Geely E5 EM-i
GWM H6
GWM H6 GT
GWM H6 GT PHEV
GWM H6 PHEV
GWM H7
GWM Jolion
GWM Jolion Pro
GWM Jolion Pro Limited
GWM Ora 03
GWM ORA 5
GWM P300
GWM P500
GWM Tank 300
GWM Tank 500
Honda Amaze
Honda Civic RS
Honda Civic Type R
Honda CR-V
Honda Elevate
Honda Fit
Honda HR-V
Hyundai ALCAZAR
Hyundai EX-8 Chassis Cab
Hyundai EX-8 Dropside
Hyundai EX-8 Tipper
Hyundai EX-8 Van Body
Hyundai EXTER
Hyundai Grand i10
Hyundai Grand i10 Cargo
Hyundai Grand i10 Sedan
Hyundai H-100 Chassis Cab
Hyundai H-100 Deck
Hyundai H-100 Tipper
Hyundai i20
Hyundai Santa Fe Hybrid
Hyundai Staria
Hyundai Staria Panelvan
Hyundai Tucson
Hyundai Venue Cargo
iCAUR 03T
iCAUR V23
Isuzu D-Max Arctic Trucks AT35
Isuzu D-Max Double Cab
Isuzu D-Max Extended Cab
Isuzu D-Max Single Cab
Isuzu D-Max X-Rider
Isuzu MU-X
JAC T6 Single Cab
JAC T8 Double Cab
JAC T9 Double Cab
JAC X200 Double Cab
JAC X200 EV
JAC X200 Single Cab
Jaecoo J5
Jaecoo J7
Jaecoo J7 SHS
Jetour Dashing
Jetour T1
Jetour T1 i-DM
Jetour T2
Jetour T2 i-DM
Jetour X70 Plus
KIA Carens
KIA Carnival
KIA K2500
KIA K2700
KIA Pegas
KIA Picanto
KIA Picanto Panel Van
KIA Seltos
KIA Sonet
KIA Sonet Panel Van
KIA Sorento
KIA Sportage
KIA Tasman
LDV D90
LDV Deliver 9
LDV G10+ Van
LDV T60 Double Cab
LDV T60 Utility Single Cab
LDV Terron 9
Leapmotor C10 REEV
LEPAS L4
Lexus ES
Lexus GX
Lexus LX
Lexus NX
Lexus RX
Lexus RZ
Lexus UX
Mahindra Bolero
Mahindra Bolero MaXX Pik-Up
Mahindra Karoo Special Edition Dawn
Mahindra Karoo Special Edition Dew
Mahindra Karoo Special Edition Dusk
Mahindra Karoo Special Edition Storm
Mahindra Pik Up Double Cab
Mahindra Pik Up Single Cab
Mahindra S4 Game Viewer
Mahindra S4 Refrigeration
Mahindra S6 Ambulance
Mahindra S6 Mining
Mahindra Scorpio-N
Mahindra XUV3XO
Mahindra XUV 3XO Xprez Panel Van
Mahindra XUV700
Mazda CX-3
Mazda CX-30
Mazda CX-5
Mazda CX-60
Mazda Mazda2
Mazda Mazda3
Mercedes-Benz A-Class
Mercedes-Benz AMG GT 4-Door Coupé
Mercedes-Benz AMG GT Coupé
Mercedes-Benz B-Class
Mercedes-Benz C-Class
Mercedes-Benz CLA Coupé
Mercedes-Benz CLE Cabriolet
Mercedes-Benz CLE Coupé
Mercedes-Benz E-Class
Mercedes-Benz EQA
Mercedes-Benz EQB
Mercedes-Benz EQE Sedan
Mercedes-Benz EQE SUV
Mercedes-Benz EQS Sedan
Mercedes-Benz EQS SUV
Mercedes-Benz EQV
Mercedes-Benz G 580 with EQ Technology
Mercedes-Benz G-Class
Mercedes-Benz GLA
Mercedes-Benz GLB
Mercedes-Benz GLC
Mercedes-Benz GLC Coupé
Mercedes-Benz GLE
Mercedes-Benz GLE Coupé
Mercedes-Benz GLS
Mercedes-Benz Mercedes-Maybach GLS
Mercedes-Benz Mercedes-Maybach S-Class
Mercedes-Benz Mercedes-Maybach SL
Mercedes-Benz S-Class
Mercedes-Benz SL Roadster
Mercedes-Benz V-Class
MG Cyberster
MG HS
MG MG3
MG ZS
MG ZS Pro
Mitsubishi Destinator
Mitsubishi Eclipse Cross
Mitsubishi Outlander
Mitsubishi Outlander Sport
Mitsubishi Pajero Sport
Mitsubishi Triton Double Cab
Mitsubishi Triton Single Cab
Mitsubishi Xpander
Nissan Magnite
Nissan Navara Double Cab
Nissan Navara Single Cab
Nissan X-Trail
Omoda C5
Omoda C5 SHS
Omoda C5-X
Omoda C7
Omoda C9
Omoda C9 SHS
Renault Captur
Renault Duster
Renault Kiger
Renault Kwid
Renault Kwid Limited Edition
Renault Trafic Panel Van
Renault Trafic Passenger
Renault Triber
Renault Triber Express
Renault Triber Express III
RIDDARA RD6
Rolls-Royce Black Badge Cullinan
Rolls-Royce Black Badge Ghost
Rolls-Royce Black Badge Spectre Series II
Rolls-Royce Cullinan
Rolls-Royce Ghost
Rolls-Royce Ghost Extended
Rolls-Royce Phantom
Rolls-Royce Phantom Extended
Rolls-Royce Spectre Series II
Suzuki Across
Suzuki Baleno
Suzuki Celerio
Suzuki Dzire
Suzuki Eeco
Suzuki Ertiga
Suzuki Fronx
Suzuki Grand Vitara
Suzuki Ignis
Suzuki Jimny
Suzuki Jimny 5-Door
Suzuki S-Presso
Suzuki Super Carry
Suzuki Swift
Suzuki Swift Sport
Suzuki XL6
Tata Curvv
Tata Harrier
Tata Punch
Tata Tiago
Toyota bZ4X
Toyota Coaster
Toyota Corolla
Toyota Corolla Cross
Toyota Corolla Hatch
Toyota Fortuner
Toyota GR86
Toyota GR Corolla
Toyota GR Supra
Toyota GR Yaris
Toyota Hiace
Toyota Hiace Ses'fikile
Toyota Hilux Double Cab
Toyota Hilux Single Cab
Toyota Hilux Xtra Cab
Toyota Land Cruiser 300
Toyota Land Cruiser 76
Toyota Land Cruiser 79 Double Cab
Toyota Land Cruiser 79 Single Cab
Toyota Land Cruiser FJ
Toyota Land Cruiser Prado
Toyota Quantum Bus
Toyota Quantum Panel Van
Toyota RAV4
Toyota Rumion
Toyota Starlet
Toyota Starlet Cross
Toyota Urban Cruiser
Toyota Vitz
Volkswagen Amarok
Volkswagen Caddy
Volkswagen Caddy Cargo
Volkswagen Crafter
Volkswagen Golf 1.4 TSI
Volkswagen Golf GTI
Volkswagen Polo
Volkswagen Polo Sedan
Volkswagen Polo-Vivo
Volkswagen Taigo
Volkswagen Tayron
Volkswagen T-Cross
Volkswagen Tiguan
Volkswagen Touareg
Volkswagen Transporter Kombi
Volkswagen Transporter Vans
Volkswagen T-Roc
Volkswagen Vivo Xpress
BAIC B70 / City Hunter
BAIC B81
BMW iX3
BMW X5 (G65)
Changan Deepal S05 REEV
Chery Chery Q
Chery KP31
Chery Tiggo V
DENZA B5
DENZA B8
DENZA D9
DENZA N9
Dongfeng FRIDAY REEV
Ford Ranger Super Duty
Hyundai All-new GT-11 Mighty
Hyundai New CRETA
iCAUR V27
JAC JS9
JAC T9 PHEV
Jaecoo J5 EV
Jaecoo J5 SHS
LDV G90
Leapmotor B03X
Leapmotor B05
Leapmotor B10
LEPAS L6
LEPAS L8
Lexus All-New ES
Mazda All-New CX-5
Mercedes-Benz AMG GT 4-Door Electric
Mercedes-Benz C-Class Electric
Mercedes-Benz CLA Electric
Mercedes-Benz CLA Hybrid
Mercedes-Benz GLB Electric
Mercedes-Benz GLC Electric
Mercedes-Benz S-Class facelift
MG HS PHEV
Nissan New Patrol
Nissan Tekton
Omoda C4
Tata Osprey
Tata Sierra
Toyota Hilux Single Cab New Generation
Volkswagen T7 Multivan Caravelle
Volkswagen T-Roc Second Generation
ZEEKR 001
ZEEKR 009
ZEEKR 7X
ZEEKR X
Ford EcoSport (archived)
Ford Puma (archived)
Ford Ranger (archived)
GWM Cannon (archived)
GWM Cannon Alpha (archived)
GWM H1 (archived)
GWM H2 (archived)
GWM Jolion GT (archived)
GWM Ora Good Cat (archived)
GWM P Series (archived)
GWM Steed 5 (archived)
GWM Steed 6 (archived)
Hyundai Creta (archived)
Hyundai Elantra (archived)
Hyundai H1 (archived)
Hyundai i30 (archived)
Hyundai IONIQ 5 (archived)
Hyundai IONIQ 6 (archived)
Hyundai Kona (archived)
Hyundai Palisade (archived)
Hyundai Santa Fe (archived)
Hyundai Venue (archived)
Isuzu D-Max (archived)
Mahindra KUV100 (archived)
Mahindra XUV300 (archived)
Mahindra XUV500 (archived)
Nissan Navara (archived)
Nissan NP200 (archived)
Nissan NP300 Hardbody (archived)
Nissan Patrol (archived)
Nissan Qashqai (archived)
Rolls-Royce Black Badge Wraith (archived)
Rolls-Royce Dawn (archived)
Rolls-Royce Phantom Coupé (archived)
Rolls-Royce Phantom Drophead Coupé (archived)
Rolls-Royce Spectre (archived)
Rolls-Royce Wraith (archived)
Toyota Agya (archived)
Toyota Camry (archived)
Toyota C-HR (archived)
Toyota Corolla Sedan (archived)
Toyota Hilux (archived)
Toyota Hilux Custom Builds (archived)
Toyota Land Cruiser 79 (archived)
Toyota Quantum (archived)
Toyota Yaris (archived)
Volkswagen Golf (archived)
Volkswagen Tiguan Allspace (archived)
Add
Short answer
Images
All Specs
Spec index
Verdict
FAQs
Decision summary
BYD ATTO 3 vs Toyota bZ4X: the short answer
ATTO 3 and bZ4X are close on the comparable published fields, so buyer priorities should decide.
ATTO 3 starts ZAR 482,900 cheaper
ATTO 3 from ZAR 699,900 · bZ4X from ZAR 1,182,800
Five key differences
Exact selected derivatives
Swipe sideways to compare every column
What Each Car Gets Right (and Wrong)
ATTO 3
Strengths
Stronger listed safety equipment
Weak Spots
Less powerful engine setup
Lower fuel efficiency
Lower published practicality figures
Best suited to:
General Use
Specification evidence leader
bZ4X
Strengths
More powerful engine output
Better fuel efficiency
Stronger published practicality figures
Weak Spots
Fewer listed safety features
Best suited to:
Published Performance
Published Efficiency
Published Practicality
Which One's Right for You?
ATTO 3
Buyers prioritising the more complete listed safety equipment
bZ4X
Buyers prioritising the stronger published powertrain figures Buyers prioritising the lower published fuel or energy use Buyers prioritising the stronger published space and capacity figures
Full Specs, Side by Side
Open a category, then swipe sideways to compare every column
Vehicle Details
▾
Spec
ATTO 3
bZ4X
Model Introduced Year
2023
2026
Generation
First South African ATTO 3 generation
South African launch specification of Toyota's dedicated battery-electric bZ4X
Facelift History
No separately marketed South African facelift announced as at August 2026
Introduced locally in 2026 as Toyota South Africa's first battery-electric production model
Facelift Launched Since
Original current-generation version
Introduced locally in 2026 as Toyota South Africa's first battery-electric production model
Facelift Version Ending
Current
Current South African 2026 specification
Body Style
SUV
SUV
Model Year
2026
2026
Production Status
Active
active
Segment
Compact SUV
SUV
Vehicle Type
Passenger vehicle
SUV
Dimensions
▾
Spec
ATTO 3
bZ4X
Length
4455 mm
1 mm
Width
1875 mm
1 mm
Height
1615 mm
1 mm
Wheelbase
2720 mm
1 mm
Ground Clearance (Default)
175 mm
212 mm
Ground Clearance (With Full Seating Load)
150 mm
125 mm
Fuel Tank Capacity
0 l
50 l
Boot/Cargo Space
310 l
484 l
Kerb Weight
1750 kg
1556 kg
Gross Vehicle Weight (GVW)
2160 kg
2052 kg
Payload Capacity
410 kg
449 kg
Towing Capacity
750 kg
750 kg
Seating Capacity
5 seats
5 seats
Number of Rows
2 rows
2 rows
Doors
5 doors
5 doors
Minimum Turning Radius
5.25 m
5.6 m
Front Headroom
1010 mm
1000 mm
Rear Headroom
920 mm
942 mm
Front Legroom
1070 mm
1035 mm
Rear Legroom
760 mm
882 mm
Engine & Performance
▾
Spec
ATTO 3
bZ4X
Engine
Single-motor battery-electric powertrain
Battery-electric powertrain
Engine Code
Not Applicable
Not Applicable
Fuel Type
Electric
Electric
Hybrid System
Not Applicable
Not Applicable
Engine Displacement
Not Applicable
Not Applicable
Cylinders
Not Applicable
Not Applicable
Cylinder Layout
Not Applicable
Not Applicable
Valves
Not Applicable
Not Applicable
Valves per Cylinder
Not Applicable
Not Applicable
Aspiration
Not Applicable
Not Applicable
Fuel System
Not Applicable
Not Applicable
Compression Ratio
Not Applicable
Not Applicable
Bore
Not Applicable
Not Applicable
Stroke
Not Applicable
Not Applicable
Maximum Power
150 kW
255.3 kW
Maximum Torque
310 Nm
268.6 Nm
Combined Power
Not Applicable
Not Applicable
Combined Torque
Not Applicable
Not Applicable
Motor Type
Permanent Magnet Synchronous
Permanent-magnet synchronous electric motor
Number of Motors
1
1
Motor Location
Front
Integrated transmission electric motor
Drive Type
FWD
AWD
Transmission
Single-Speed Reduction Gear
Single-Speed Reduction Gear
Top Speed
160 km/h
160 km/h
0-100 km/h
7.3 sec
5.1 sec
Quarter Mile
Not Officially Disclosed
15.5 sec
Drive Modes
Eco, Normal, Sport
Standard Eco, Normal, Sport, X-MODE
Launch Control
Not Officially Disclosed
No
Rev Limiter
Not Applicable
Not Applicable
Power-to-Weight Ratio
85.7 kW/tonne
100 kW/tonne
Torque-to-Weight Ratio
177.1 Nm/tonne
220 Nm/tonne
Battery Capacity
60.48 kWh
73.11 kWh
Usable Battery Capacity
Not Officially Disclosed
64.8 kWh
Battery Type
LFP
Lithium-ion
Battery Voltage
403.2 V
400 V
Electric Range
420 km
468 km (WLTP)
AC Charging Power
7 kW
11 kW
DC Charging Power
80 kW
150 kW
AC Charging Time
9 h 42 min (0-100%)
31 h
DC Charging Time
44 min (10-80%)
29 min
Regenerative Braking
Yes
Yes
Transmission & Drivetrain
▾
Spec
ATTO 3
bZ4X
Gearbox
Single-Speed Reduction Gear
Single-speed automatic
Drivetrain Layout
Front motor, front-wheel drive
AWD
LSD Available
Not Available
Yes
Transfer Case
Not Applicable
Not Applicable
Differential Lock
Not Available
Yes
Paddle Shifters
Not Applicable
Standard
Final Drive Ratio
3.476
Yes
Number of Gears
1
1
Transmission Type
Automatic
Single-speed automatic
Clutch Type
Not Applicable
Yes
Gear Shift Indicator
Standard
Yes
Gear Shift Type
Gearshift lever
Automatic
Drivetrain
FWD
AWD
4WD Engagement
Not Applicable
Permanent electric all-wheel drive
4WD Hi Range
Not Applicable
Not Applicable
4WD Lo Range
Not Applicable
Not Applicable
4WD Selector
Not Applicable
Not Applicable
Automatic Shift Paddles
Not Applicable
Standard
Front Differential Lock
Not Available
Yes
Gearbox Type
Single-speed reduction gear
Single-speed automatic
Low Range Ratio
Not Applicable
Not Applicable
Low Range
Not Applicable
Not Applicable
Axle Layout
4x2
AWD
Rear Differential Lock
Not Applicable
Yes
Transmission Speeds
1
1
Mileage & Efficiency
▾
Spec
ATTO 3
bZ4X
Claimed Mileage
Not Applicable
Not Applicable
City Mileage
Not Applicable
Not Applicable
Highway Mileage
Not Applicable
Not Applicable
Fuel Tank Capacity
Not Applicable
Not Applicable
Emission Standard
Not Applicable
Euro 6
AdBlue Tank Capacity
Not Applicable
Not Applicable
Auto Start Stop
Not Applicable
Not Available
Real-world Mileage
Not Applicable
Not Applicable
Charging Port Type
Type 2 AC; CCS2 DC
AC-Type 2, DC-CCS 2
Charging Type
AC and DC
(Mode 2), Public Charger (Mode 3)
Fuel Tank Litres
Not Applicable
Not Applicable
Combined Driving Range
420 km
456-481
Electric Consumption
15.6 kWh/100 km (WLTP)
Yes
Range Real World Highway
310 km
360 km
Range Real World Mixed
390 km
456-481 km
Safety
▾
Spec
ATTO 3
bZ4X
Airbags
7
Driver Knee, Front Side, Front Centre
ABS
Standard
Standard
Electronic Stability Control
Standard
Standard
Traction Control
Standard
Yes
Hill Descent Control
Standard
Standard
Hill Start Assist
Standard
Standard
Child Safety Lock
Standard
Standard Rear door
ISOFIX Mounts
Standard
Standard 2
Brake Assist
Standard
Standard
Tyre Pressure Monitor
Standard
Standard Auto Location
Engine Immobiliser
Standard
Intrusion Sensor / Glass Break Sensor / Tilt Sensor
Seatbelt Warning All Seats
Standard
Front + Rear Buzzer + Light
Front Parking Sensors
Standard
Standard Front + Rear, Intelligent Clearance Sonar
AEB
Standard
Standard
BA
Standard
Standard
Brake Override System
Standard
Yes
Curtain Airbags
Standard
Not Available
Driver Airbag
Standard
Standard
EBD
Standard
Standard
Engine Immobiliser
Not Applicable
Intrusion Sensor / Glass Break Sensor / Tilt Sensor
Hill Hold
Standard
Standard
Passenger Airbag
Standard
Standard
Rear Cross Traffic Alert
Standard
Yes
Seatbelt Pretensioners
Standard
Yes
Seatbelt Reminder
Standard
Front + Rear Buzzer + Light
Side Airbags
Standard
Standard
Stability Control
Standard
Standard
TCS
Standard
Yes
Knee Airbag
Not Available
Standard
ABS EBD
Standard
Standard
Driver Assistance
▾
Spec
ATTO 3
bZ4X
Cruise Control
Standard
Standard Adaptive, All Speed
Adaptive Cruise Control
Standard
Standard Adaptive, All Speed
Lane Keep Assist
Standard
Standard Lane Trace Assist
Lane Departure Warning
Standard
Standard Lane Trace Assist
Blind Spot Monitoring
Standard
Standard Safe Exit Assist
Rear Cross Traffic Alert
Standard
Yes
Parking Sensors
Standard
Standard Front + Rear, Intelligent Clearance Sonar
Rear View Camera
Standard
Display Audio/ Panoramic View Monitor
360 Degree Camera
Standard
Display Audio/ Panoramic View Monitor
Autonomous Emergency Braking
Standard
Standard
Driver Fatigue Alert
Standard
Yes
Traffic Sign Recognition
Standard
Yes
Auto Highbeam
Standard
Standard
Auto Wipers
Standard
Auto, Rainsensing
Rear Parking Sensors
Standard
Standard Front + Rear, Intelligent Clearance Sonar
Reverse Camera
Standard
Display Audio/ Panoramic View Monitor
Adaptive Cruise Control
Standard
Standard Adaptive, All Speed
Park Assist
Standard
Standard
Around View Monitor
Standard
Display Audio/ Panoramic View Monitor
Blind Spot Warning
Standard
Standard Safe Exit Assist
Forward Collision Warning
Standard
Standard
Interior
▾
Spec
ATTO 3
bZ4X
Seat Material
Synthetic leather
Leather Sporty
Heated Seats
Standard
Standard Front and Rear
Ventilated Seats
Not Available
Standard Driver + Passenger
Ambient Lighting
Standard
Yes
Steering Wheel Material
Synthetic leather
3 Spoke Synthetic Leather + Heater
60 40 Split Seat
Standard
60:40
Driver Seat Adjustment
Electric adjustment
Driver & Passenger Power/ Driver Memory
Passenger Seat Adjustment
Electric adjustment
Driver & Passenger Power/ Driver Memory
Seat Trim
Synthetic leather
Leather Sporty
Comfort & Convenience
▾
Spec
ATTO 3
bZ4X
Climate Control
Automatic
Auto Dual zone
Power Windows
Standard
All All One Touch
Keyless Entry
Standard
Standard Smart Entry
Push Button Start
Standard
Push Start
Wireless Charging
Standard
Standard Front x1
Sunroof
Panoramic
Panoramic roof
Electric Tailgate
Standard
Standard Power
Rain Sensing Wipers
Standard
Standard
AC Type
Automatic
Auto Dual zone
Load Bed Length
-
Not Applicable
Load Bed Width
-
Not Applicable
Loadbox Length Mm
-
Not Applicable
Loadbox Width Mm
-
Not Applicable
Infotainment & Connectivity
▾
Spec
ATTO 3
bZ4X
Infotainment System
12.8-inch rotating touchscreen
JBL Display Audio, EMV, 14-inch
Apple CarPlay
Standard
Standard
Android Auto
Standard
Standard
Bluetooth Connectivity
Standard
Standard
Number of Speakers
8
Standard 9 Standard Audio, Telephone,
Digital Instrument Cluster
Full LCD instrument display
Standard TFT Colour, 7-inch
USB Ports
Front and rear USB-A/USB-C ports
Standard 4PCs
Infotainment Screen
12.8
14-inch
Touchscreen
12.8
14-inch
Exterior
▾
Spec
ATTO 3
bZ4X
LED Headlamps
Standard
Standard
Daytime Running Lamps
LED
Standard LED
Fog Lamps
Rear fog lamp
Yes
Roof Rails
Standard
Standard
Exterior Colour Options
Surfing Blue, Cosmos Black, Climbing Grey, Skiing White
Midnight Grey, Fierce Red, Moonlight Ocean Metallic, Platinum White Pearl and Attitude Black
Headlights
Standard
Standard
Panoramic Sunroof
Standard
Panoramic roof
Off-road Capability
▾
Spec
ATTO 3
bZ4X
Approach Angle
19 deg
25 deg
Departure Angle
24 deg
23 deg
Wading Depth
346.85 mm
500 mm
Terrain Modes
Snow
Standard
Locking Differential
Not Available
Yes
4WD System Type
Not Applicable
Permanent electric all-wheel drive
Breakover Angle
13 deg
20 deg
Tyres, Wheels & Brakes
▾
Spec
ATTO 3
bZ4X
Tyre Size
215/55 R18
F:235-50 R20 Alloy R:235-50 R20 Alloy
Front Brake Type
Ventilated disc
Ventilated Disc
Rear Brake Type
Disc
Ventilated Disc
Spare Wheel Type
Temporary spare wheel
Without (Repair Kit Included)
Wheel Rim Size
18
F:235-50 R20 Alloy R:235-50 R20 Alloy
Handbrake Type
Electronic parking brake
Electric
Suspension & Chassis
▾
Spec
ATTO 3
bZ4X
Front Suspension
MacPherson strut
Brake Ventilated Disc
Rear Suspension
Multi-link
Window Demister Standard
Environmental & Emissions
▾
Spec
ATTO 3
bZ4X
CO2 Emissions
0 g/km
1 g/km
Service & Maintenance
▾
Spec
ATTO 3
bZ4X
Service Plan
4 years/80000 km service plan; 5 years/100000 km maintenance plan
6 Services / 90 000 km
Service Interval
-
12 months / 15 000 km
Battery Warranty
-
8 years 160 000 km
Accessory Battery Type
-
Lithium Ion Standard Emergency Charger
Pricing & Ownership
▾
Spec
ATTO 3
bZ4X
Ownership Role
extended-range derivative
Private and family
Price Zar
783900 ZAR
1182800 ZAR
Pricing Role
extended-range derivative
Flagship
Starting Price
783900
1182800
Starting Price Zar
783900
1182800
Warranty
▾
Spec
ATTO 3
bZ4X
Warranty
5 years/100000 km complete vehicle; 8 years/200000 km power battery; 5 years/100000 km drive unit
3 years / 100 000 km
In depth: how these cars differ
This ATTO 3 and bZ4X comparison uses the exact derivatives selected above for South Africa. The catalogue index covers performance, efficiency, safety equipment, practicality and ownership cover only where comparable source-backed fields are present.
Performance index: ATTO 3 65 vs bZ4X 82.
Efficiency index: ATTO 3 90 vs bZ4X 91.
Safety-equipment index: ATTO 3 99 vs bZ4X 94.
Practicality index: ATTO 3 51 vs bZ4X 62.
Ownership-cover index: ATTO 3 not separately scored vs bZ4X not separately scored.
These figures are Hagalu catalogue-comparison indicators, not customer ratings, crash-test scores, resale guarantees or a substitute for a road test. Each page shows its weighted source coverage beside the result.
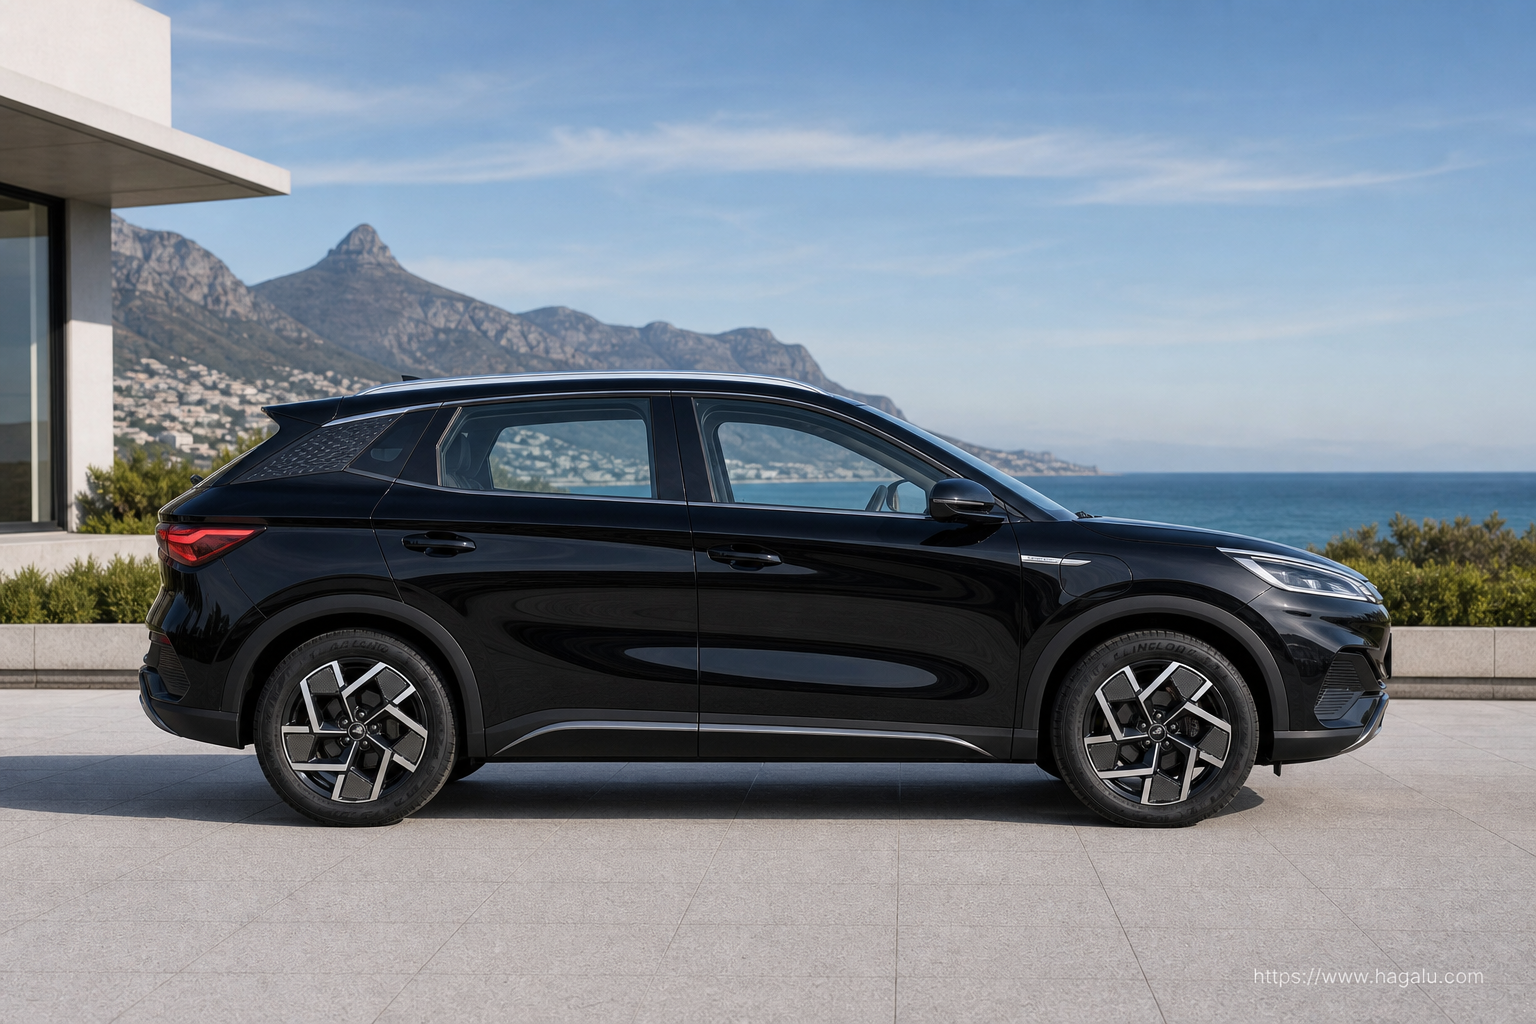
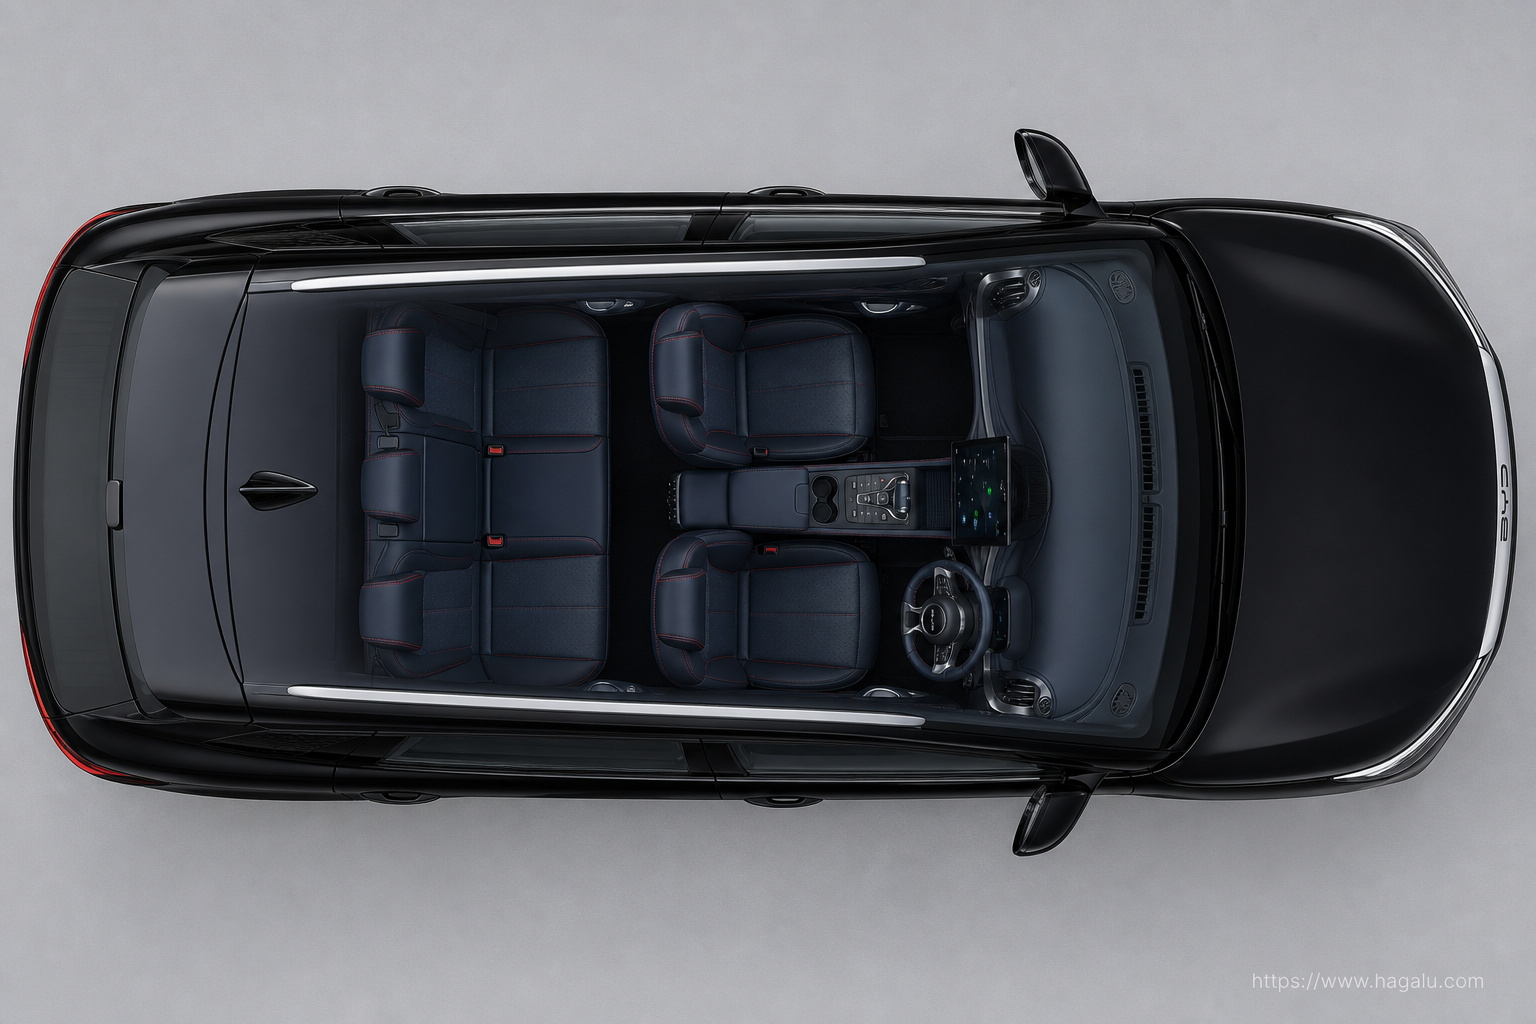
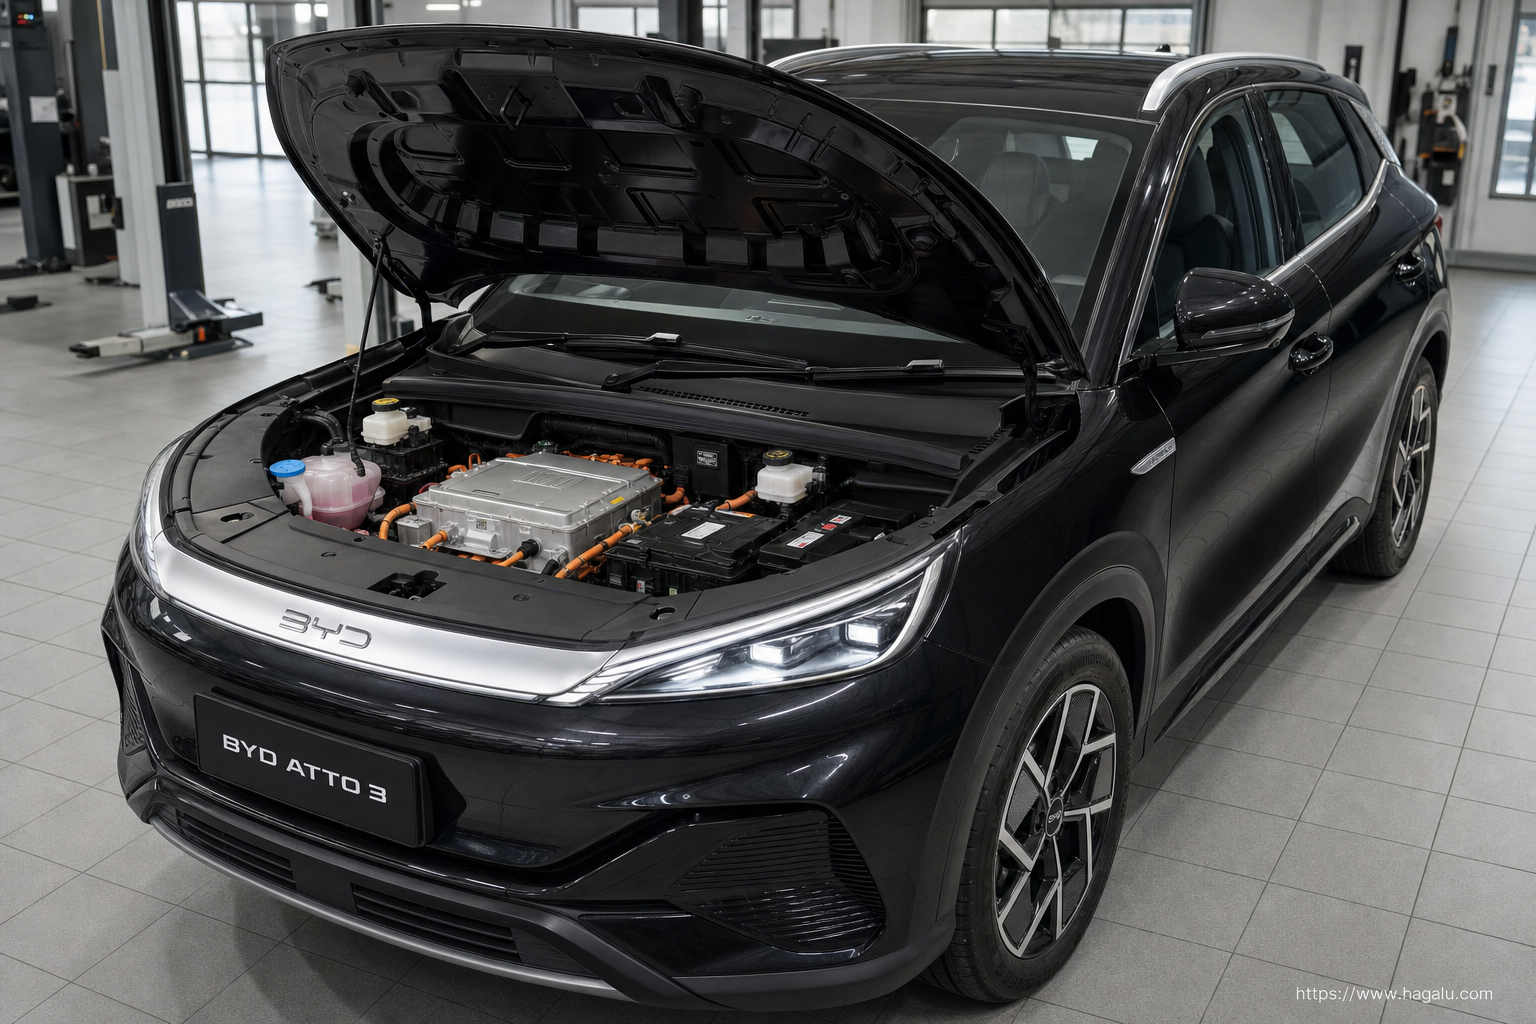
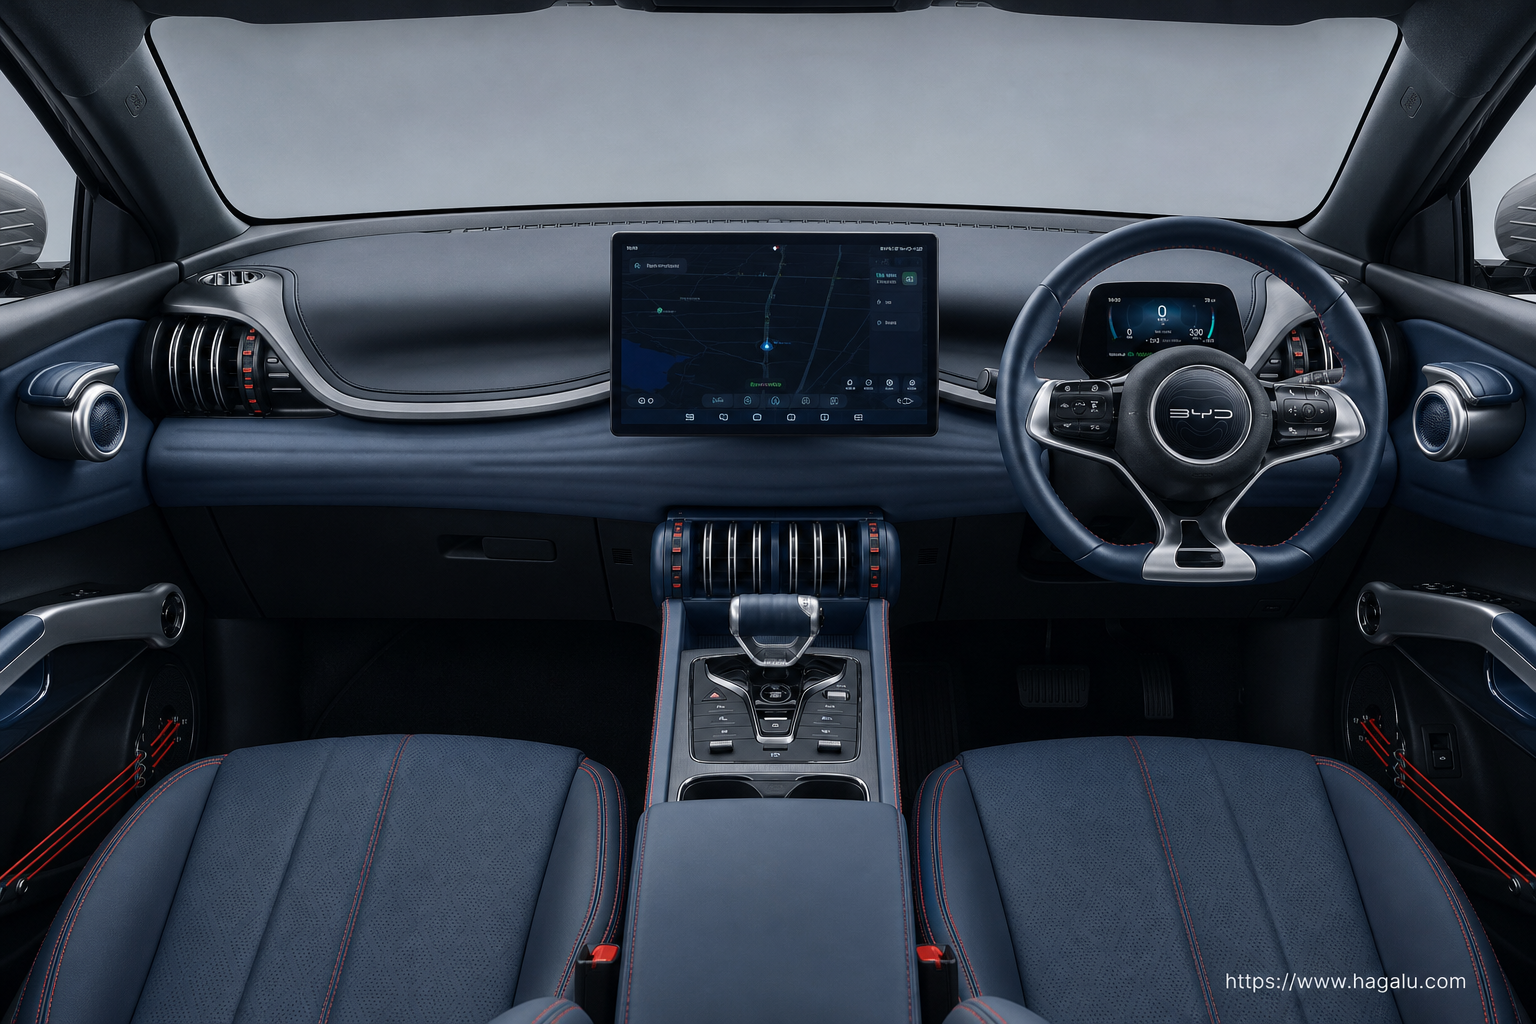
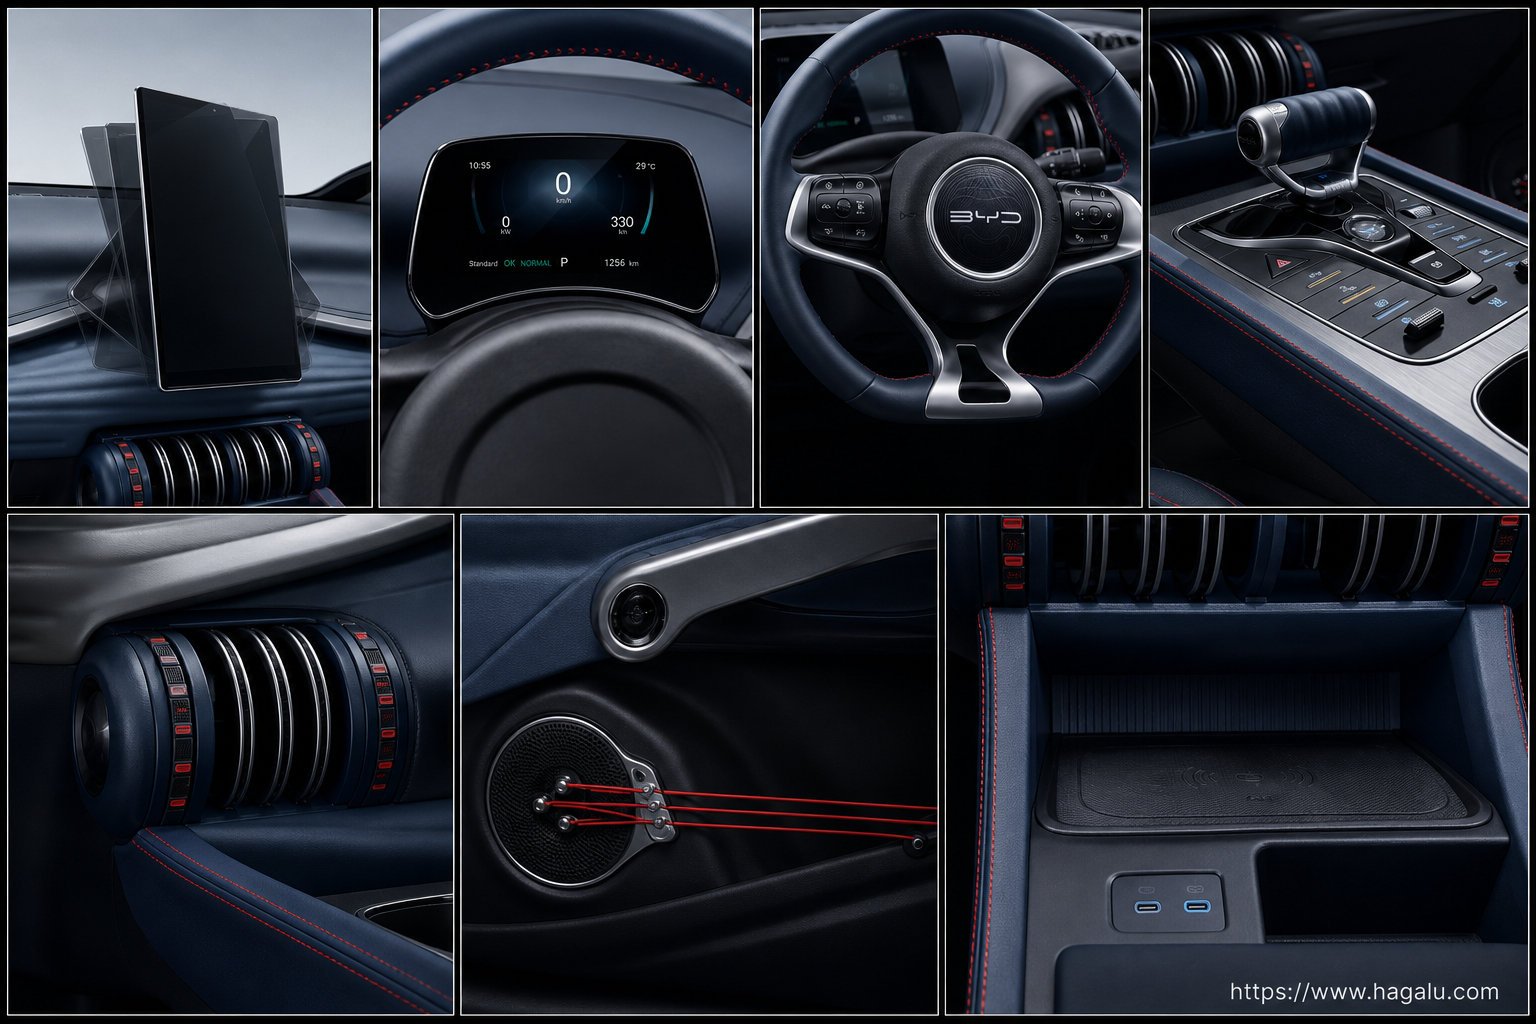
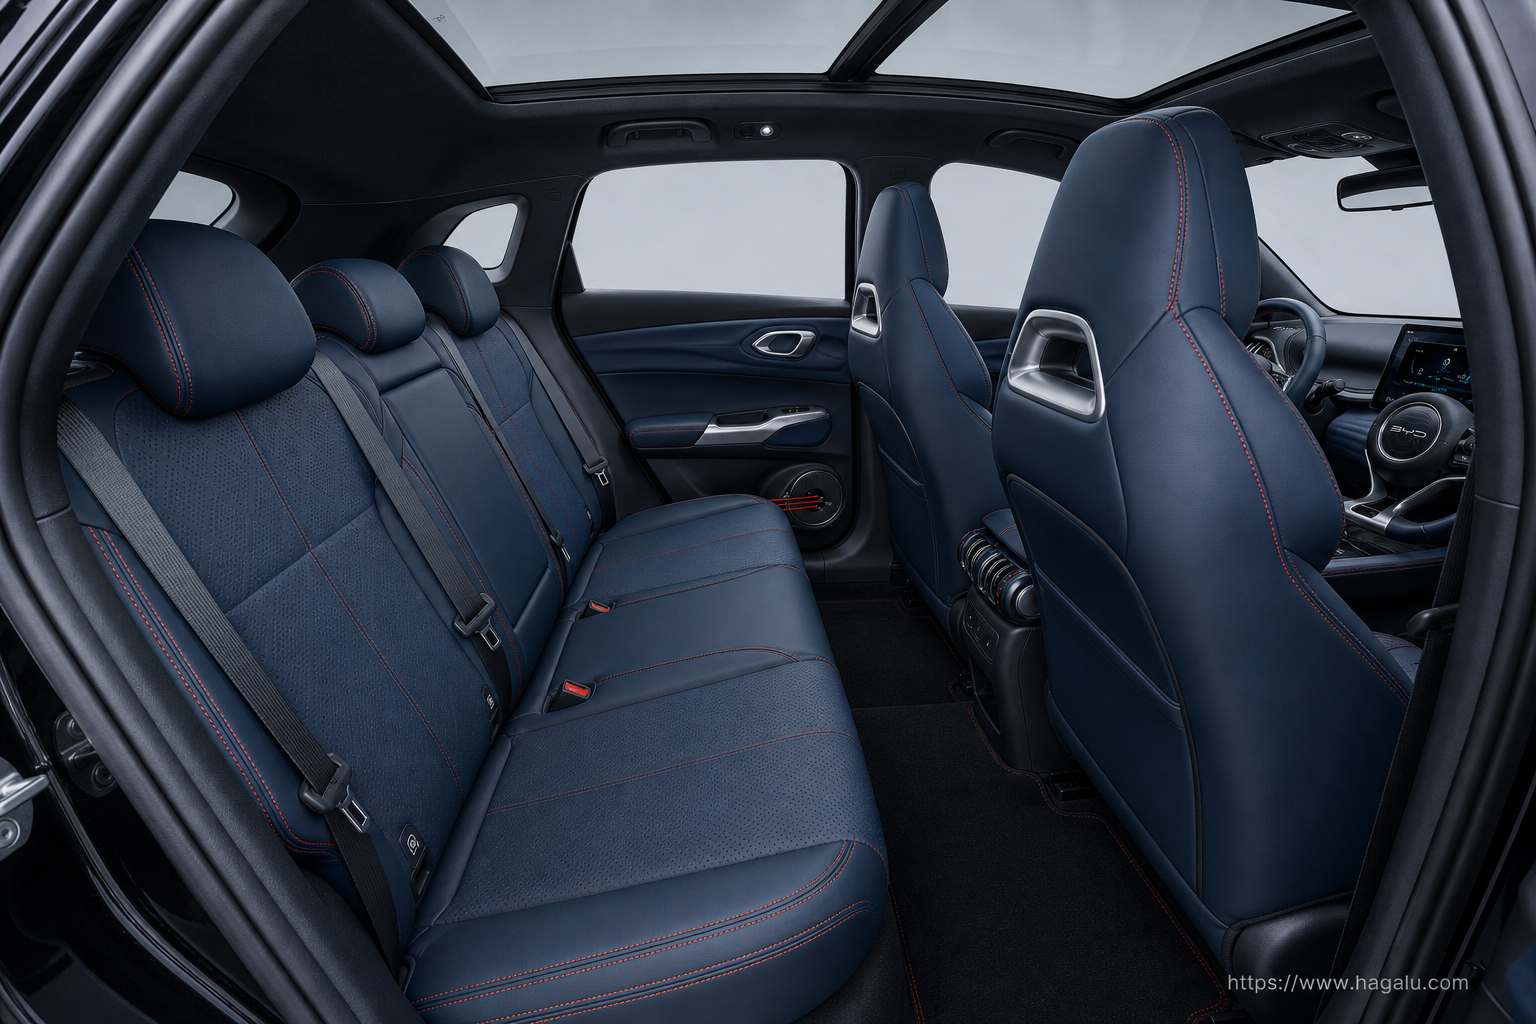
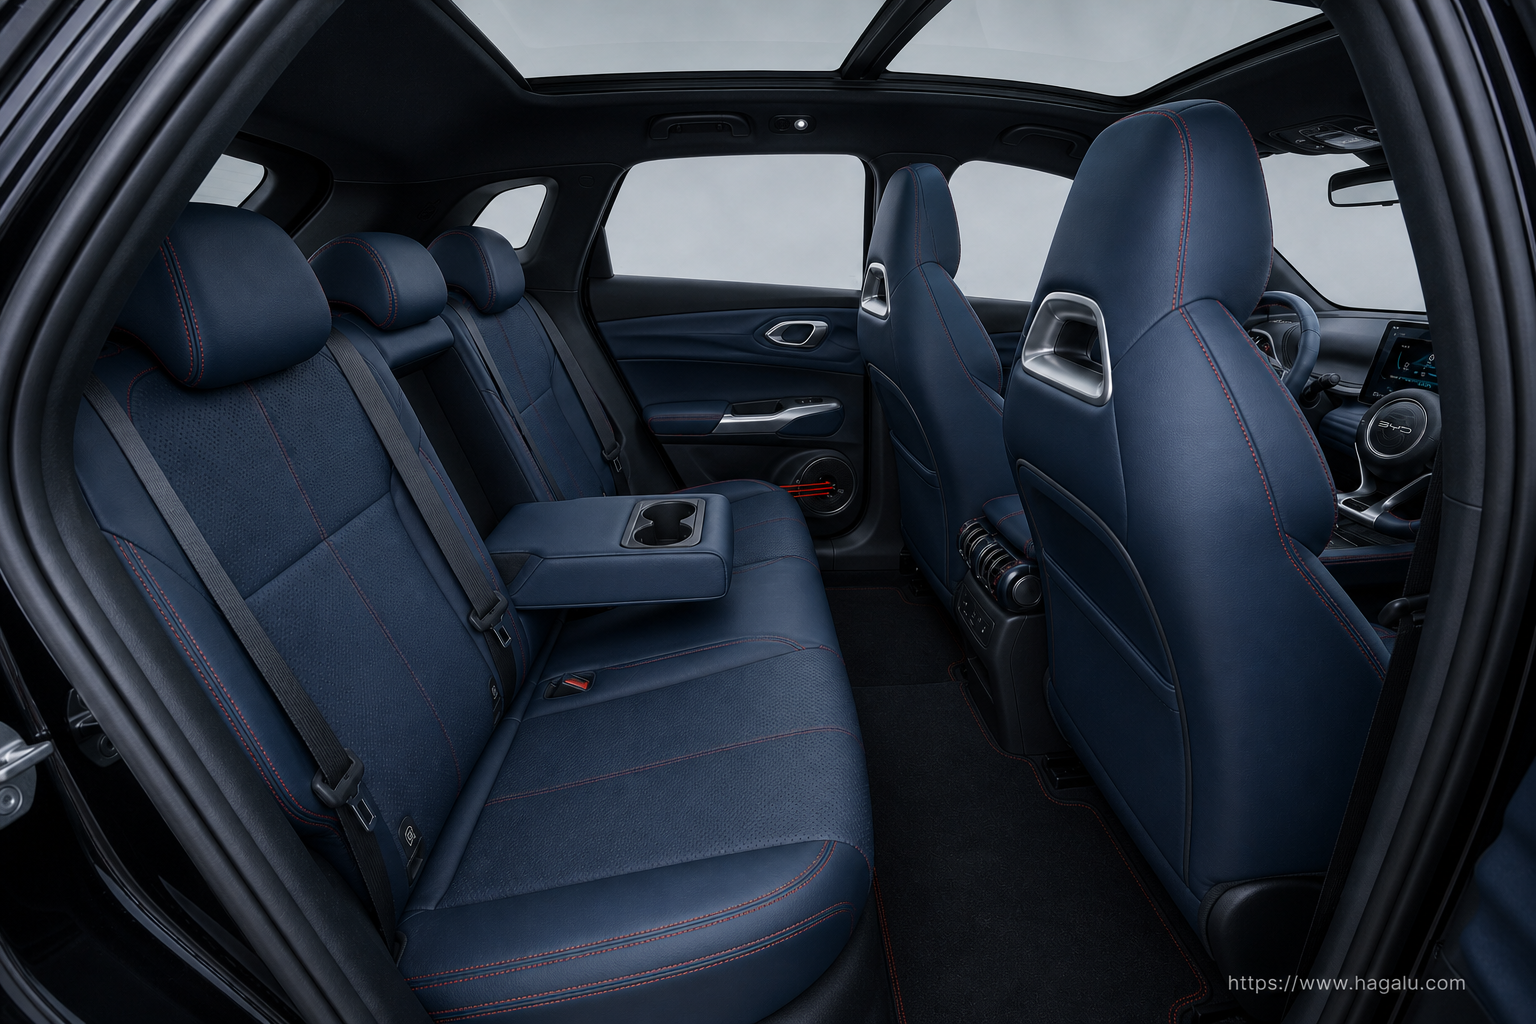
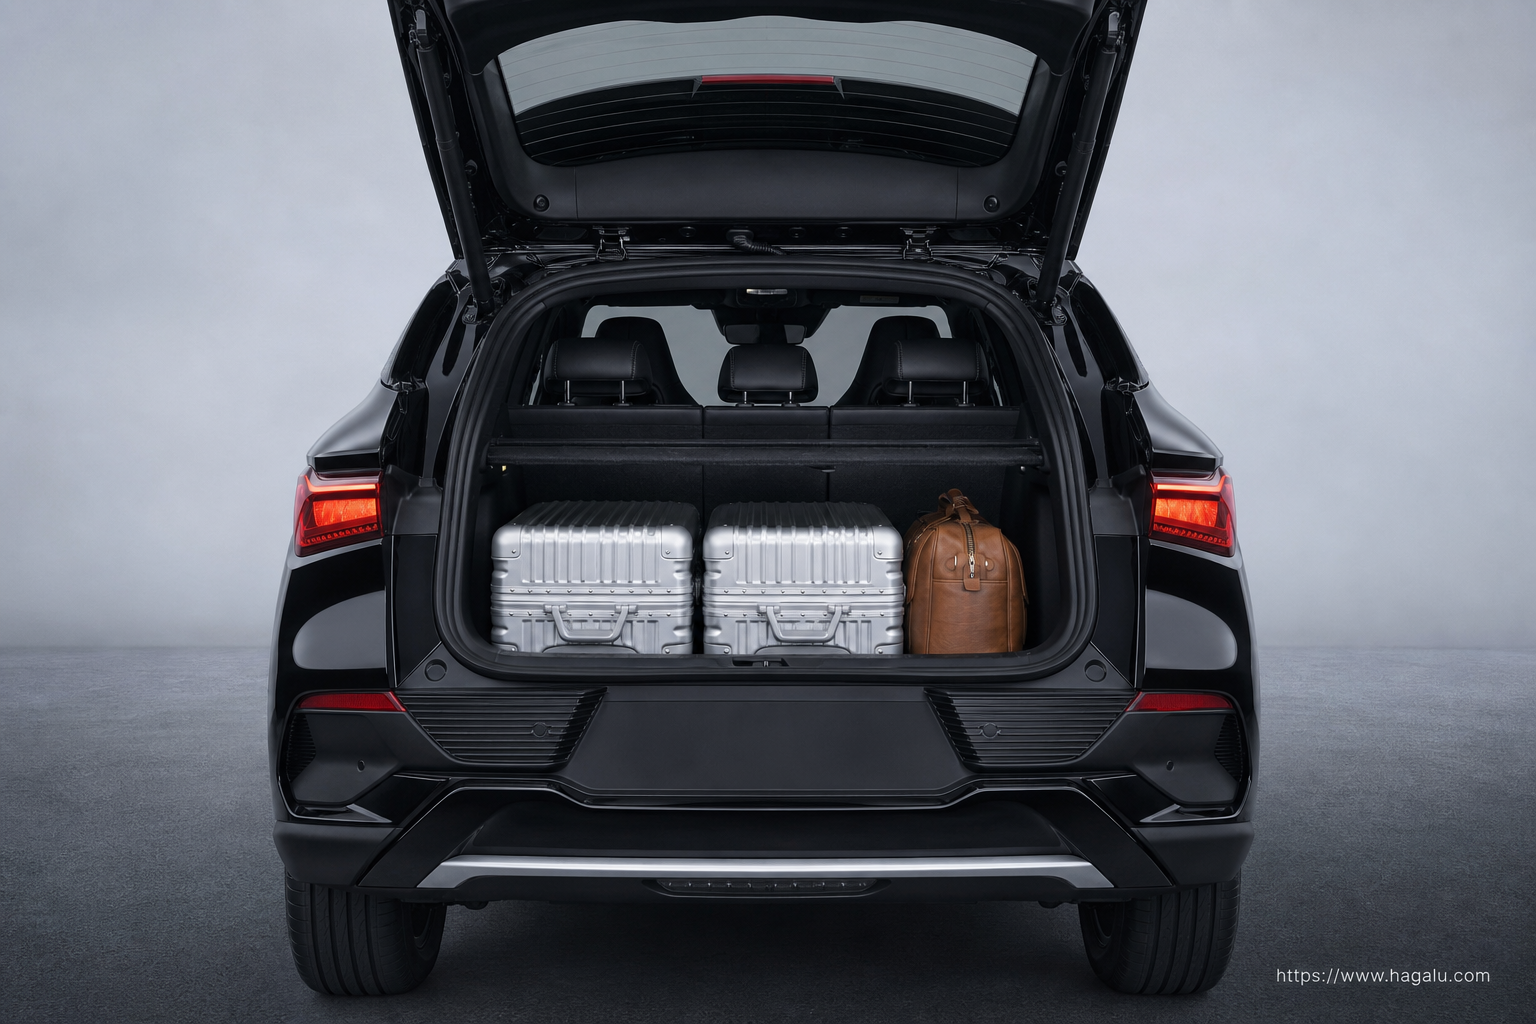
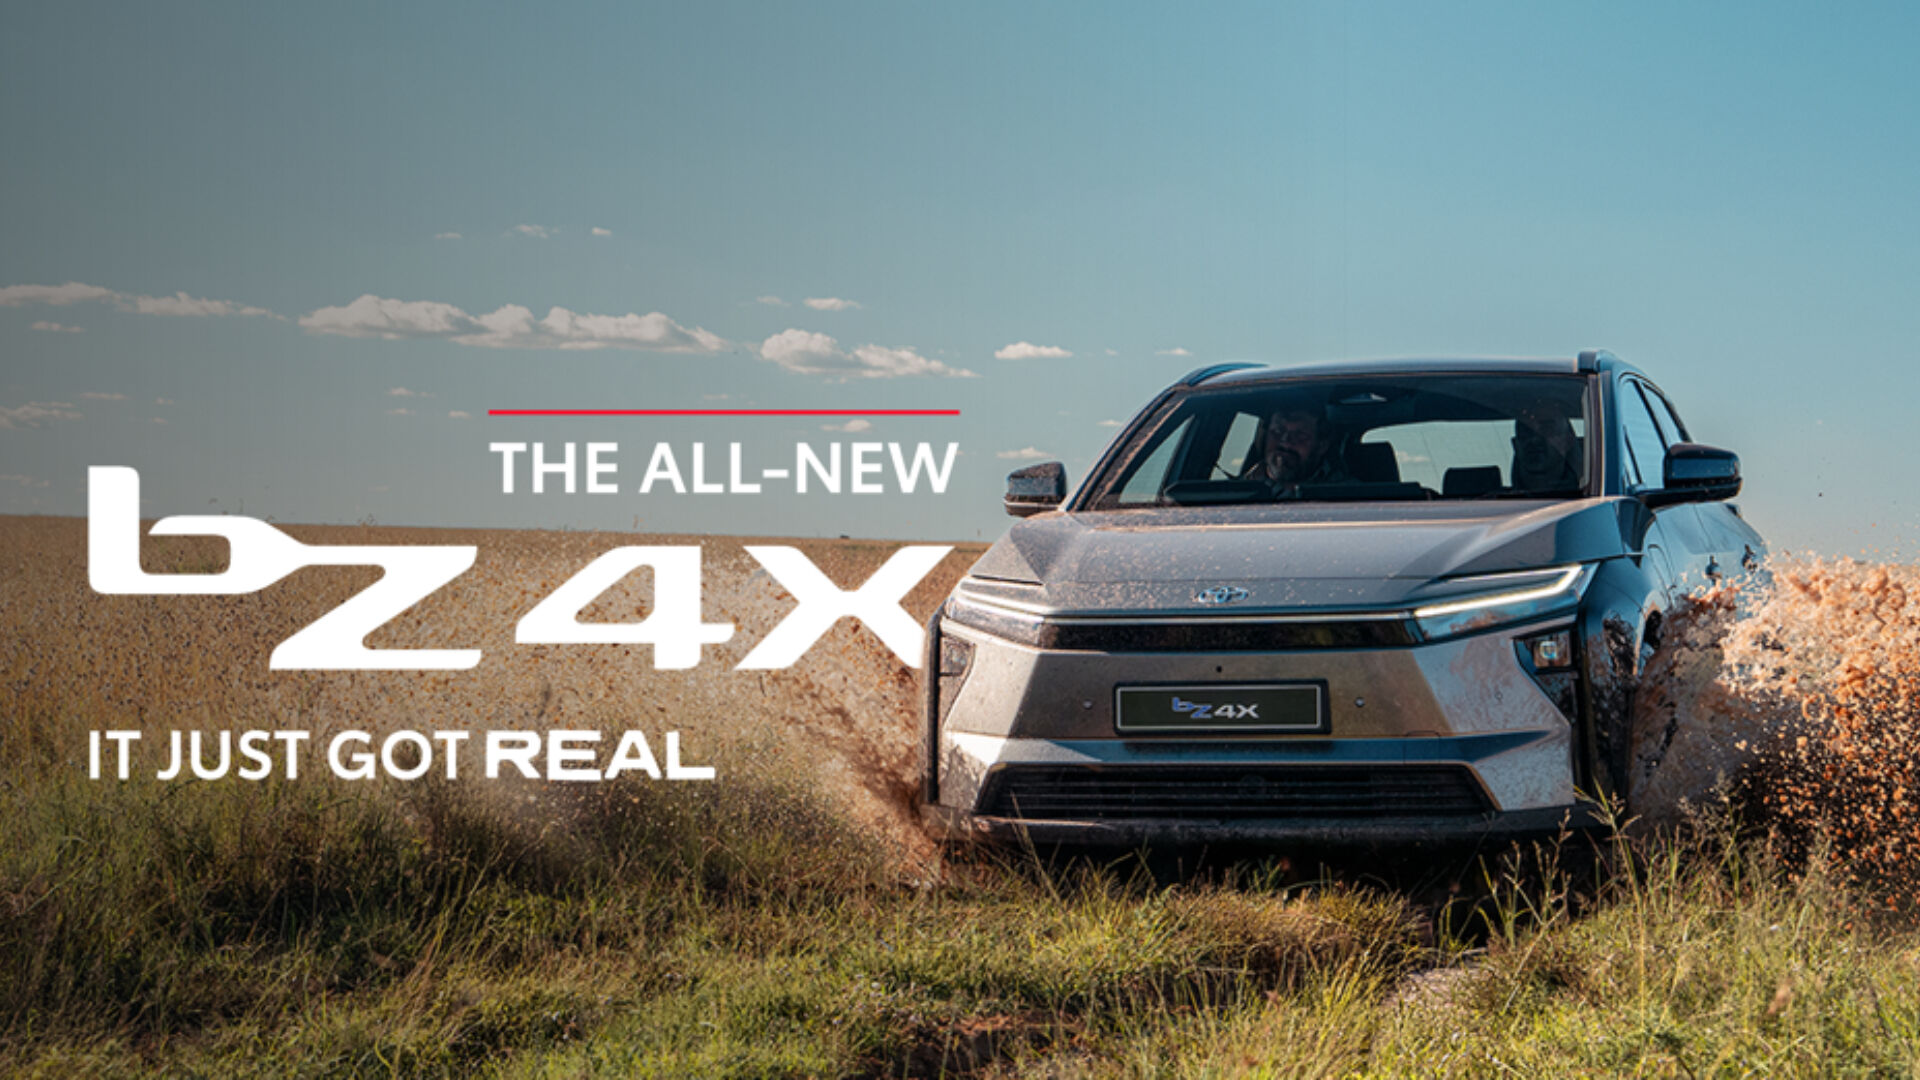
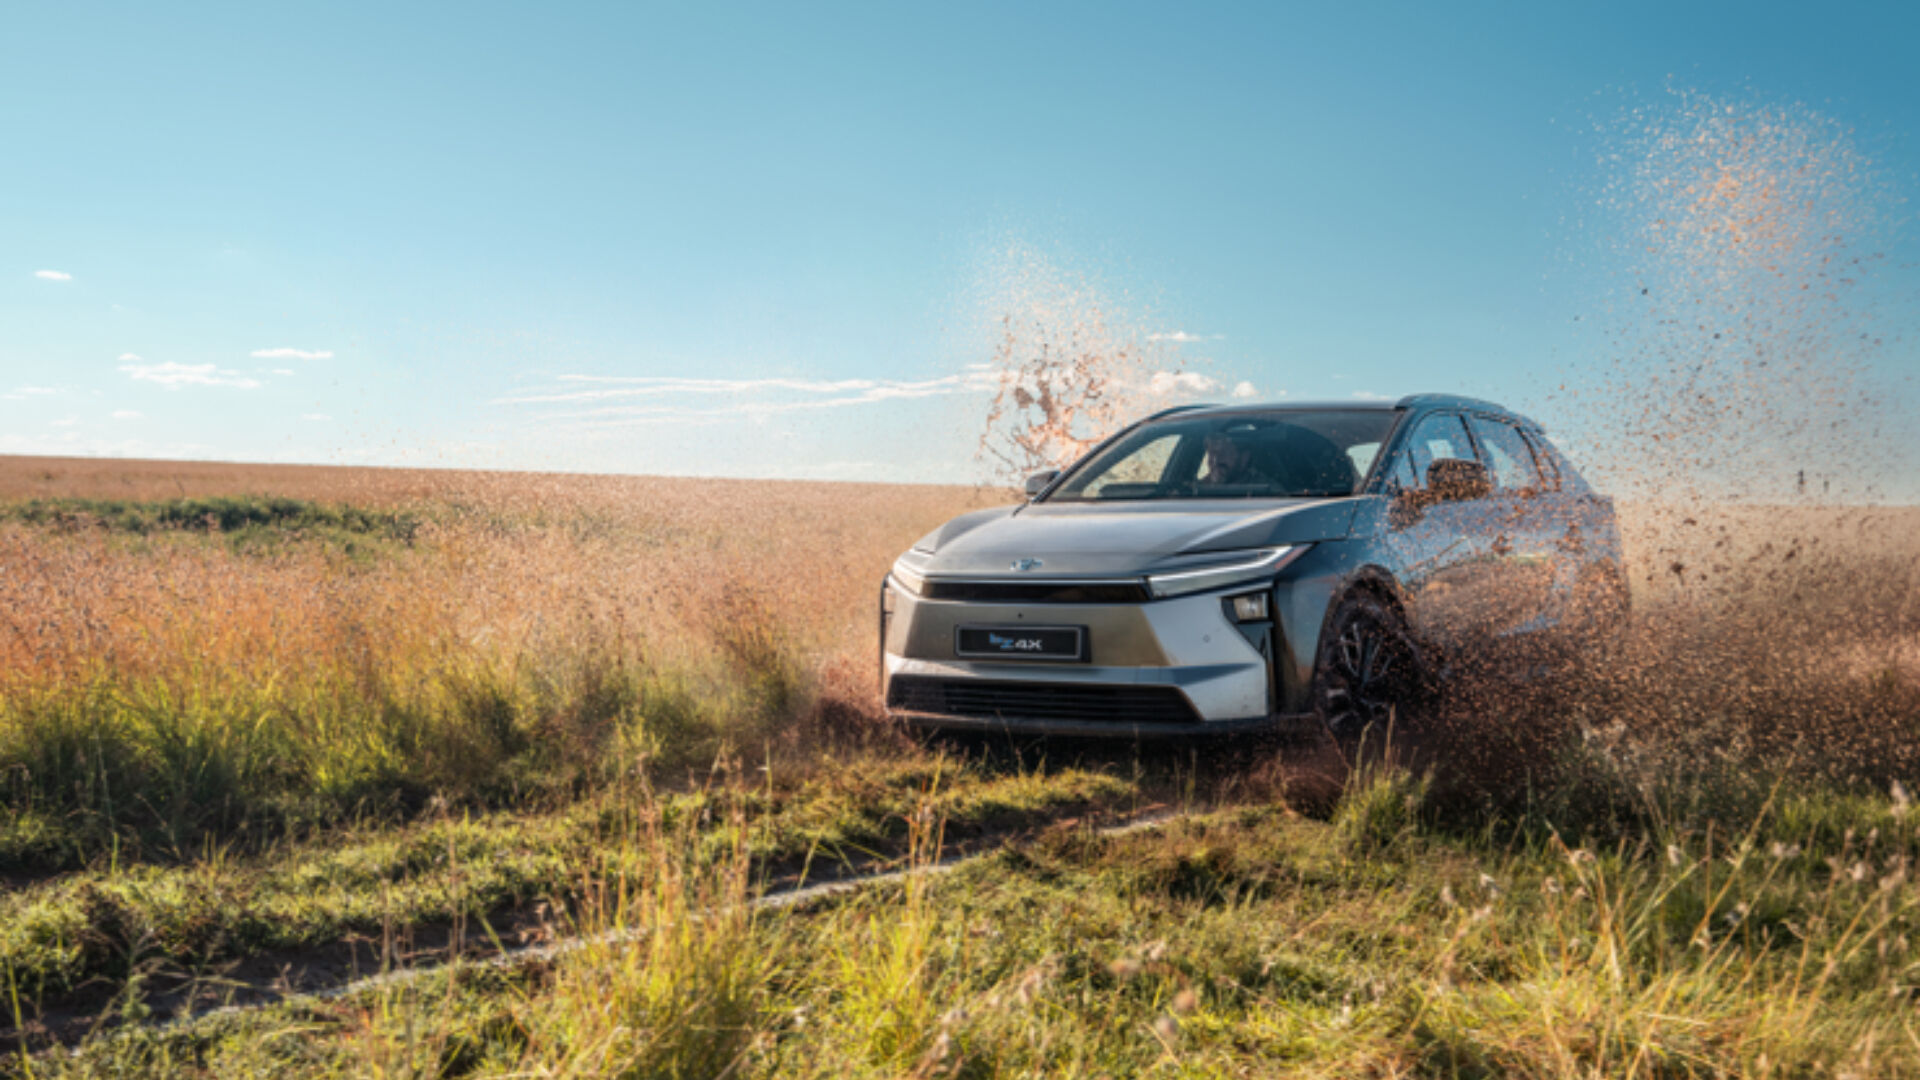
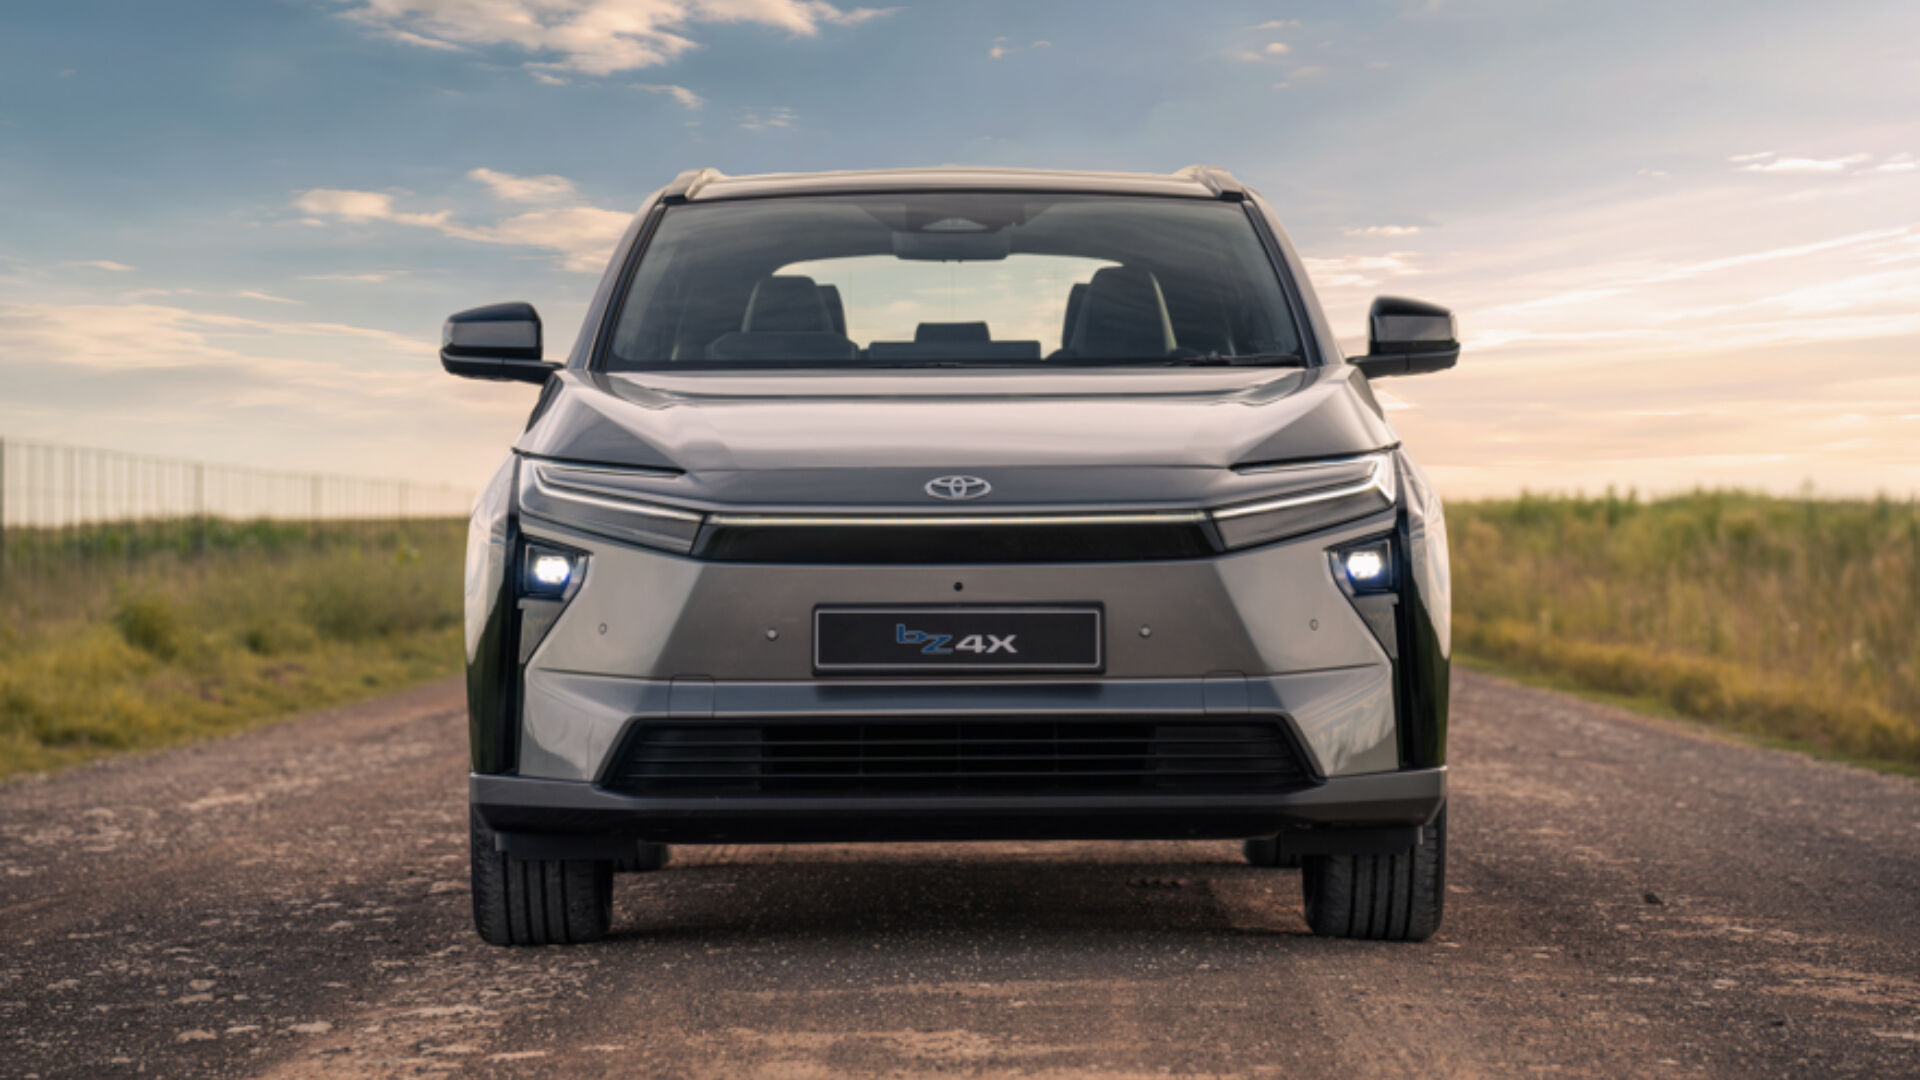
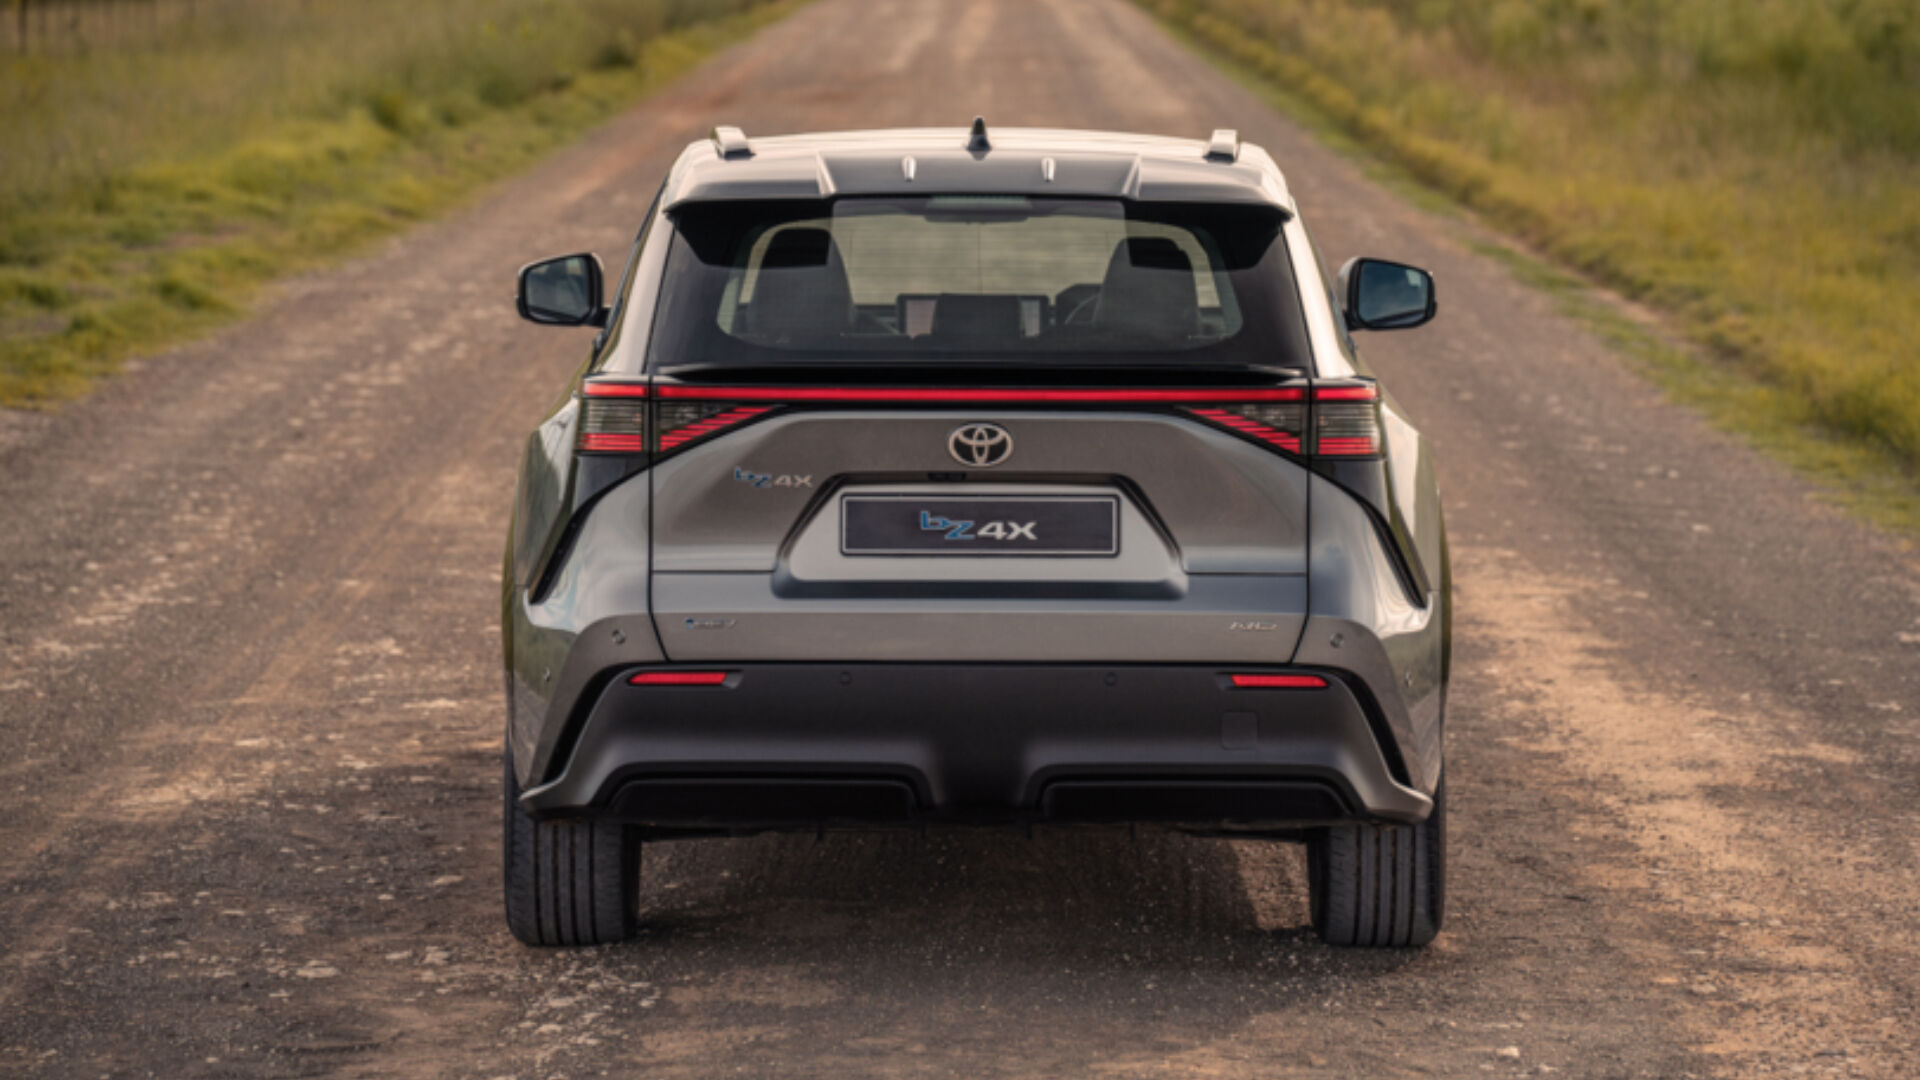
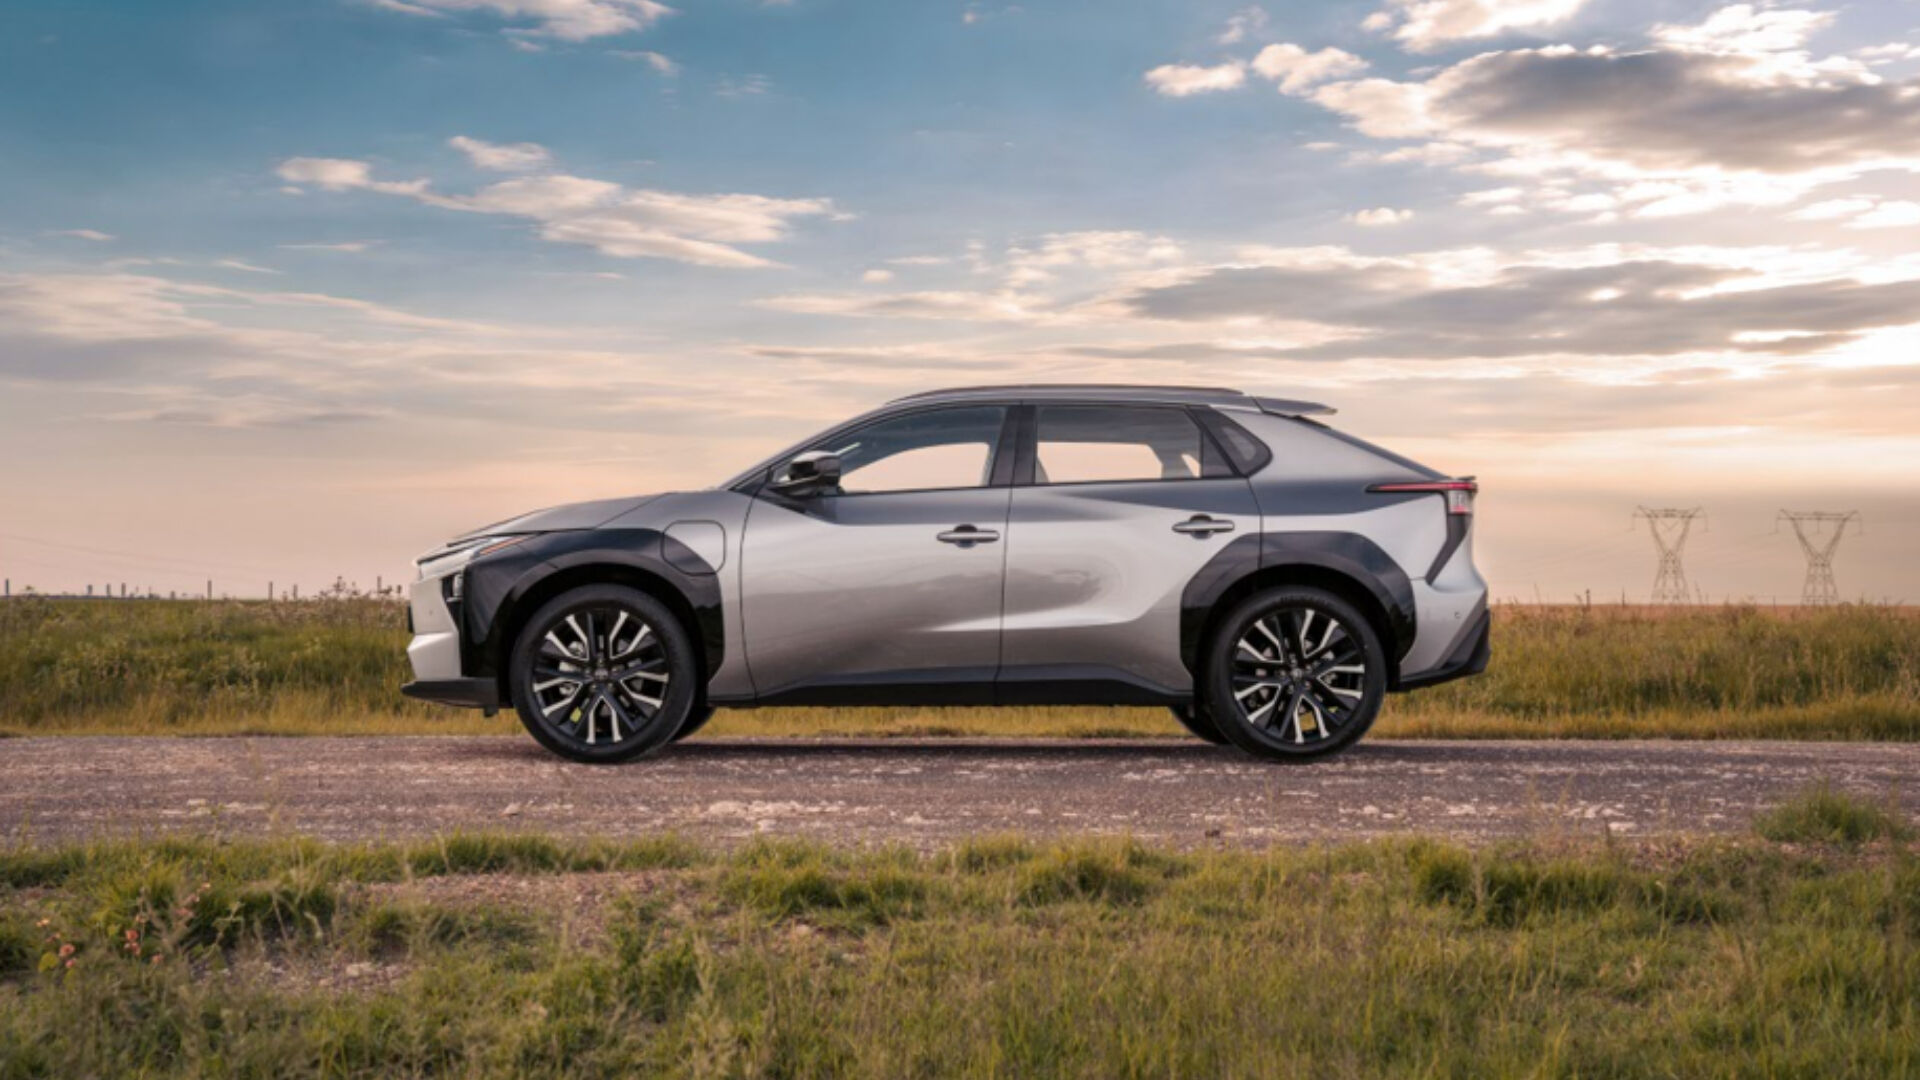
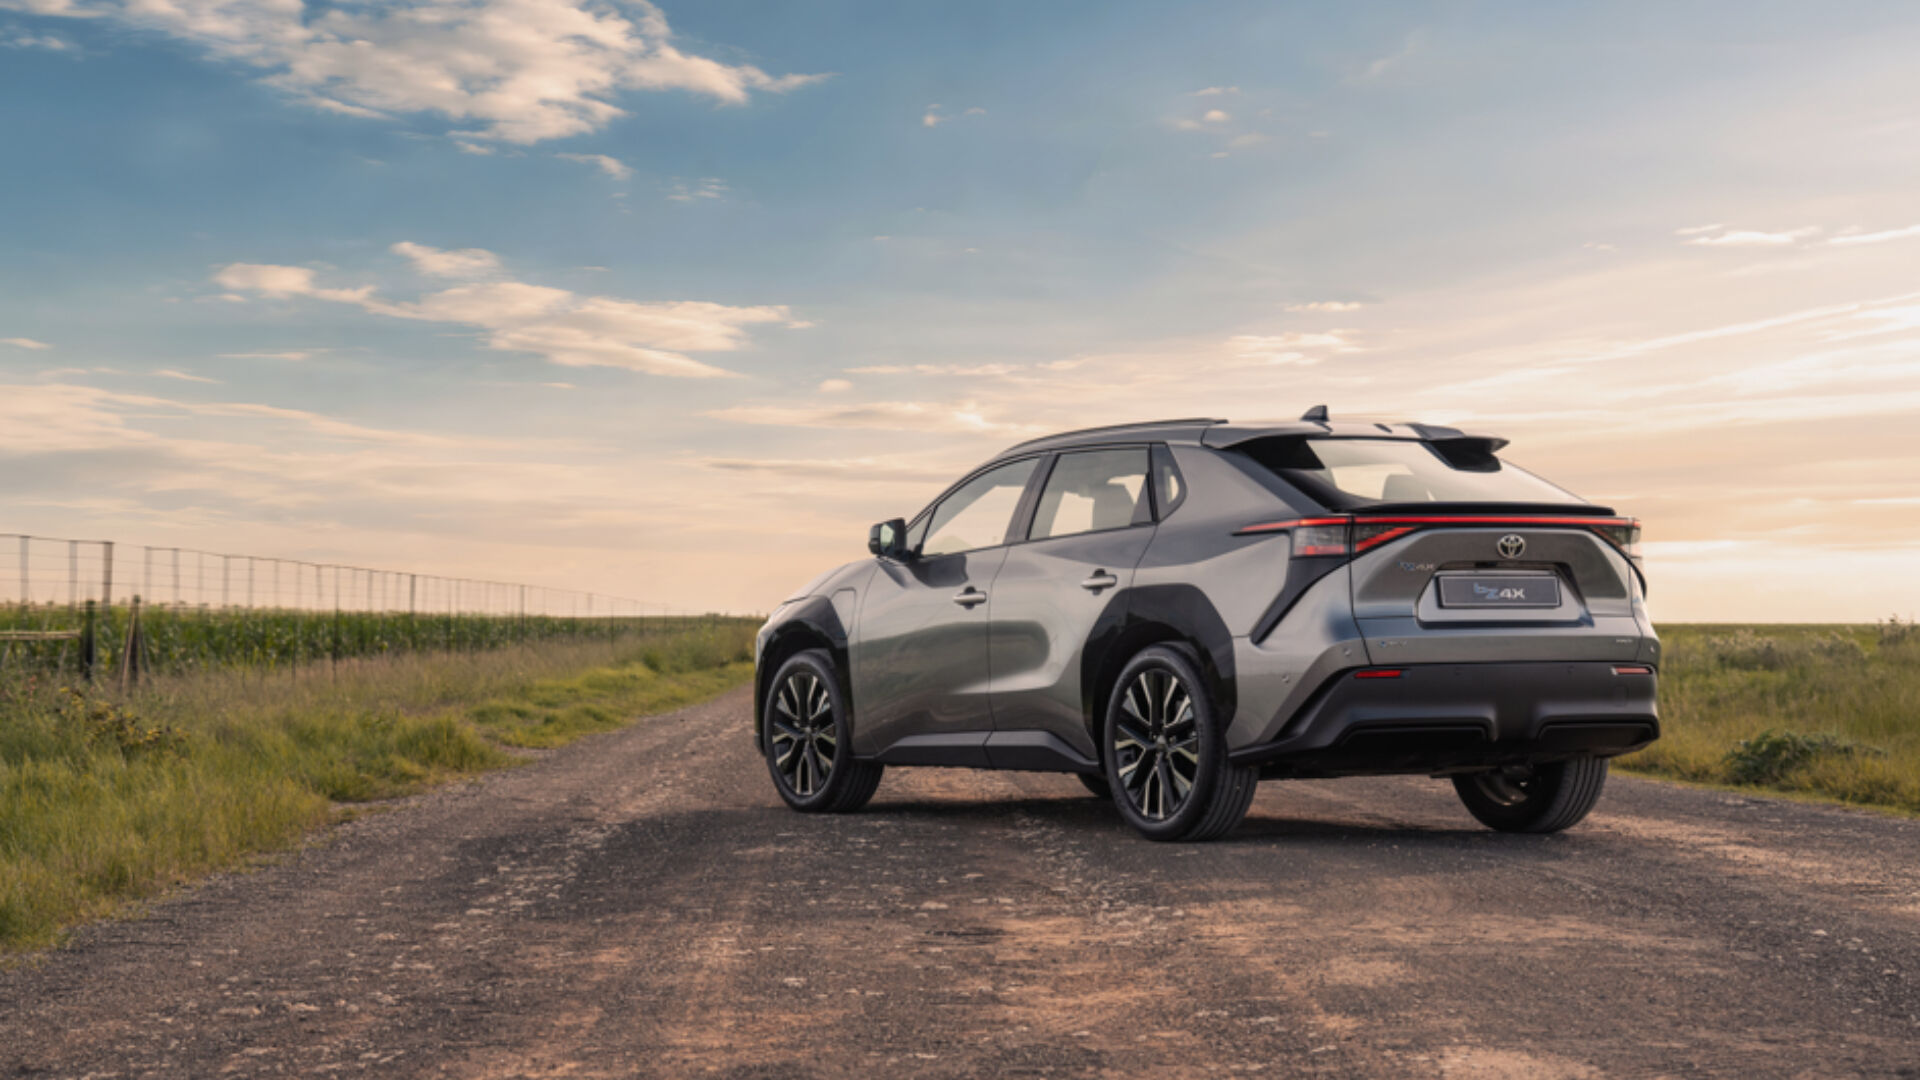
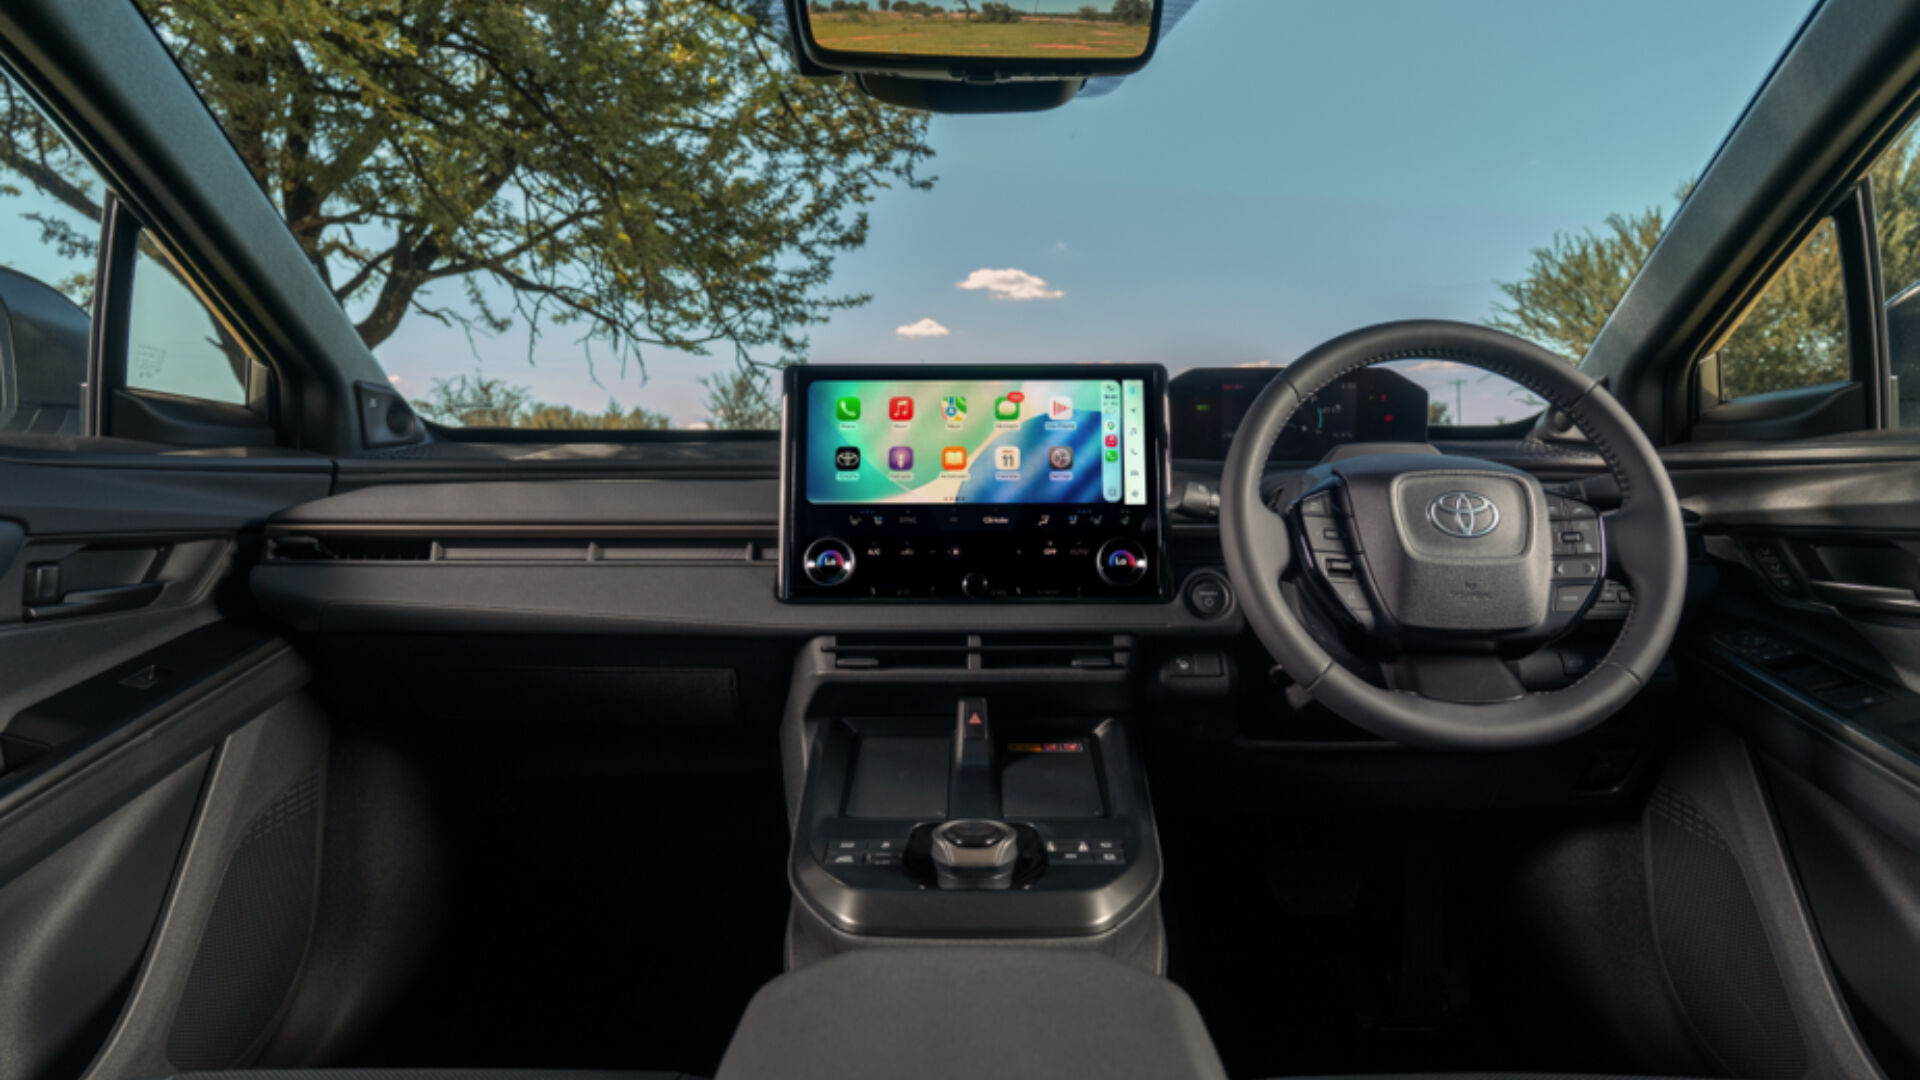
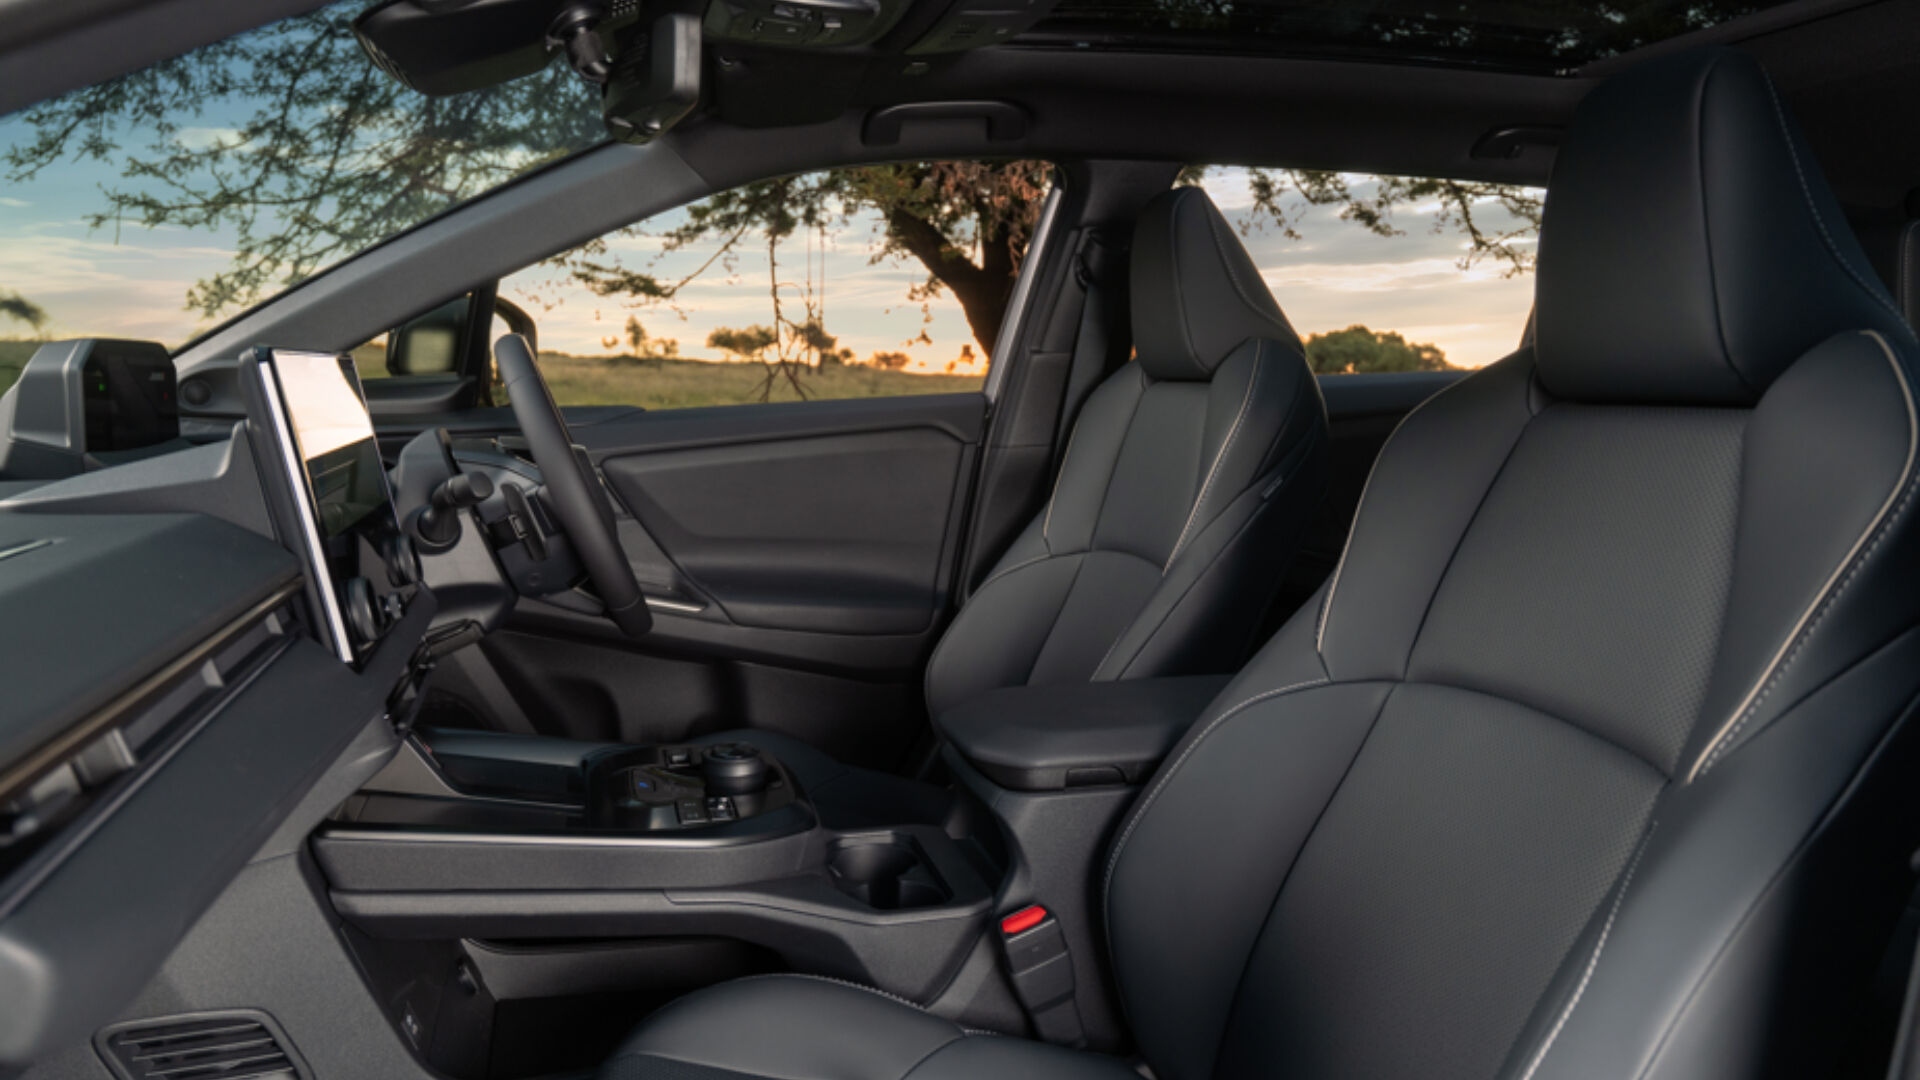
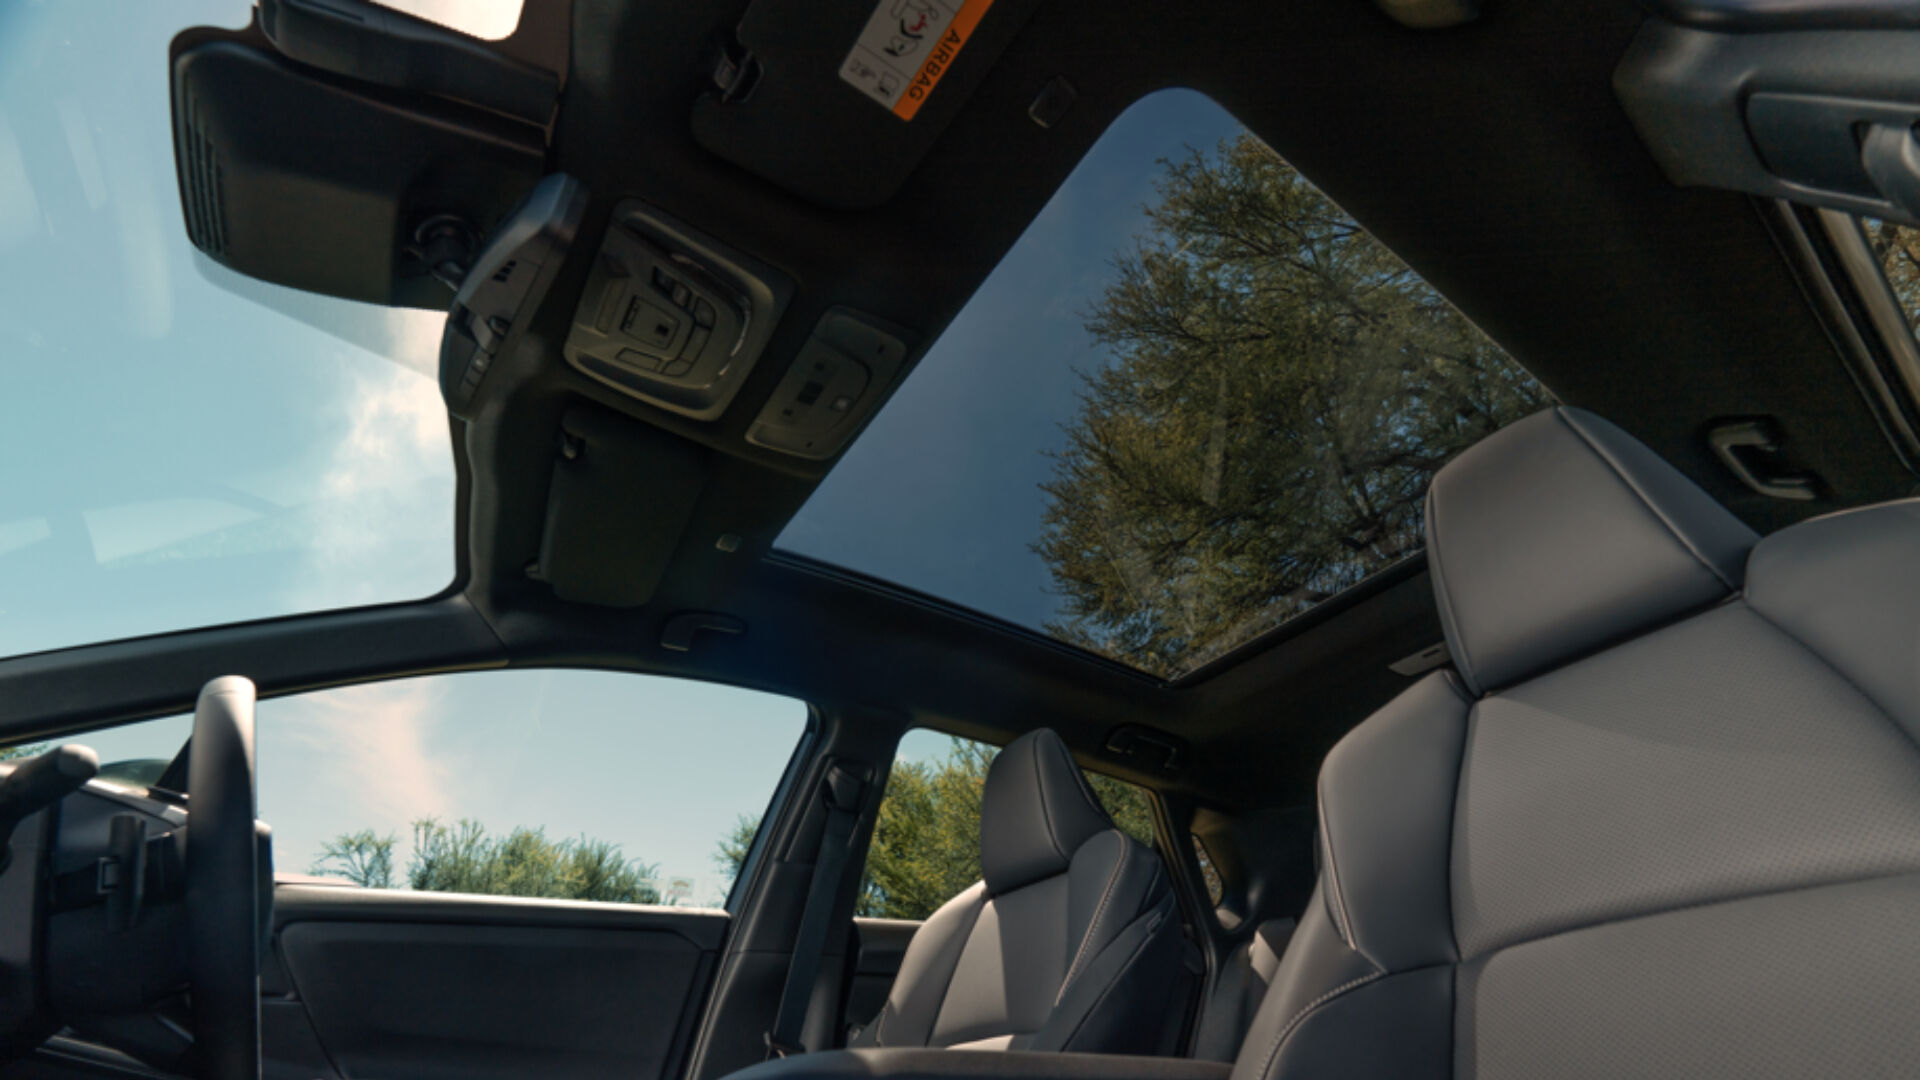
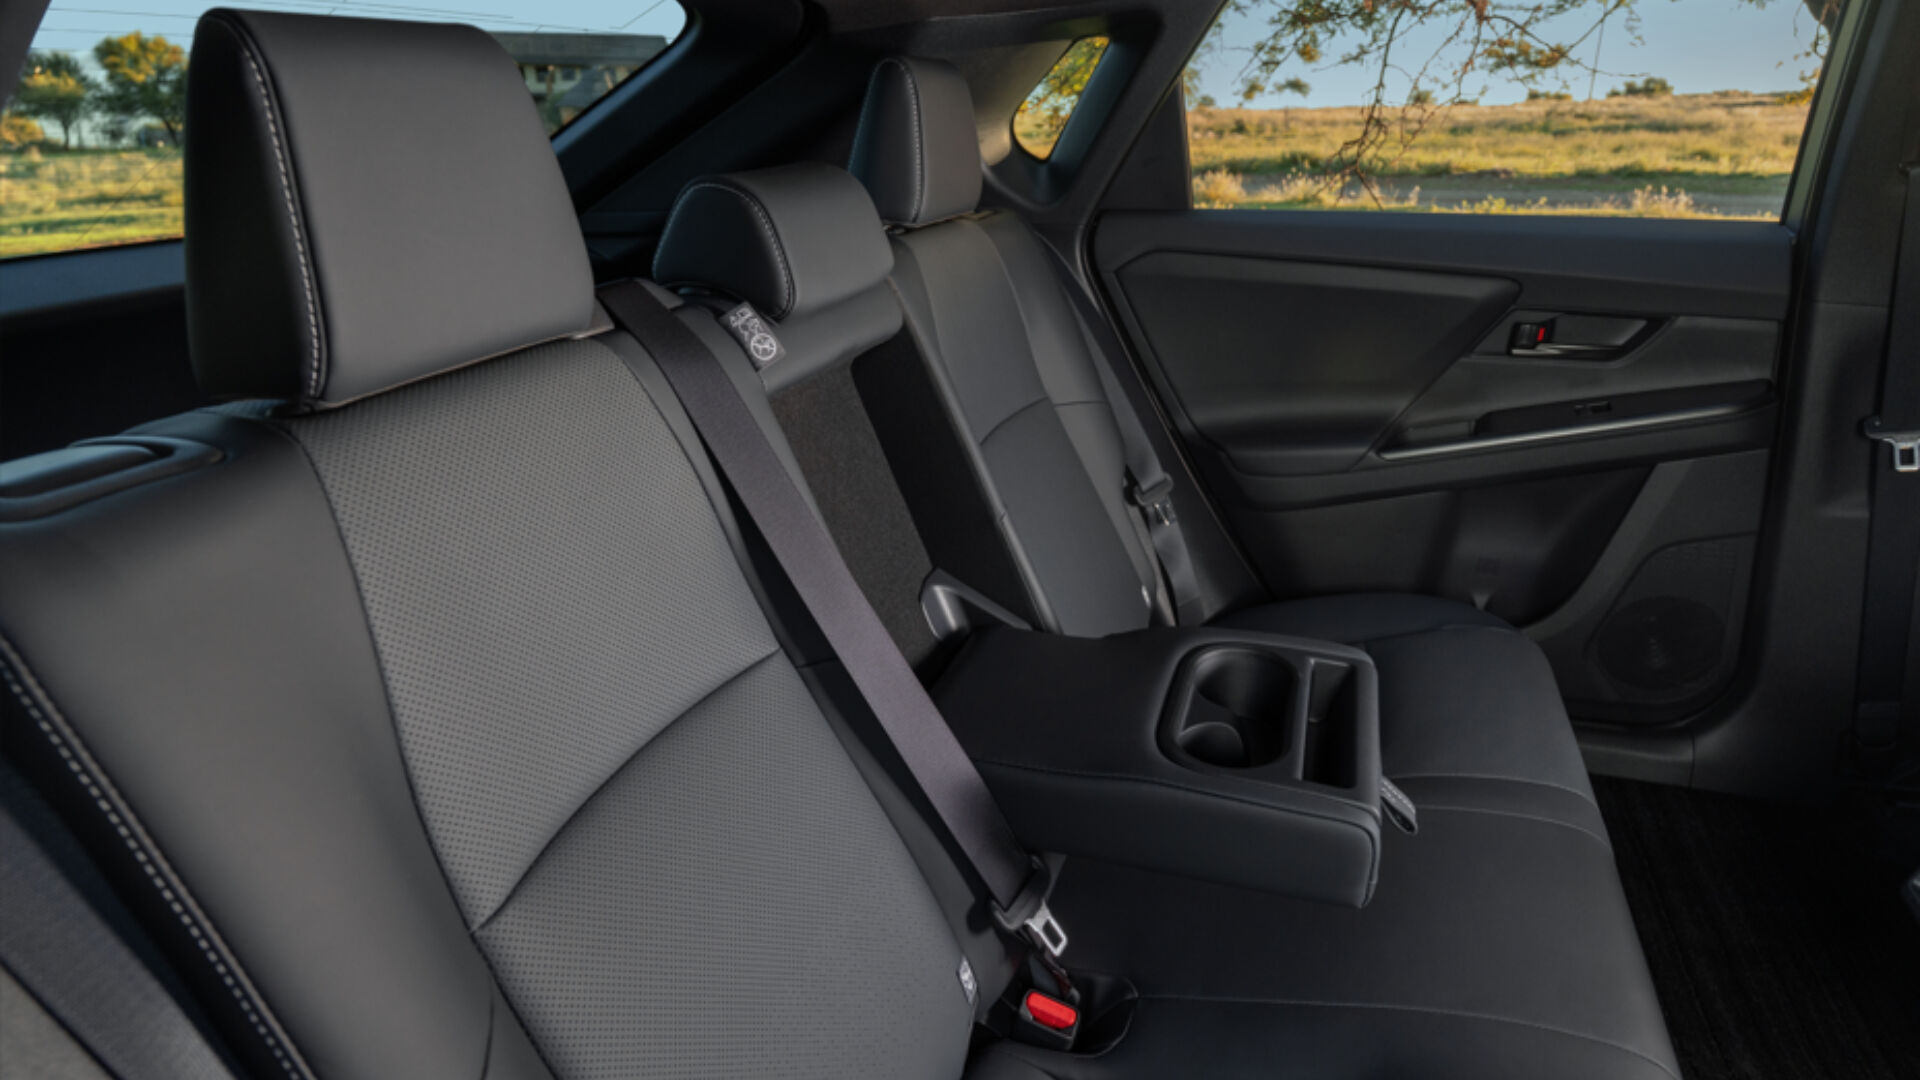
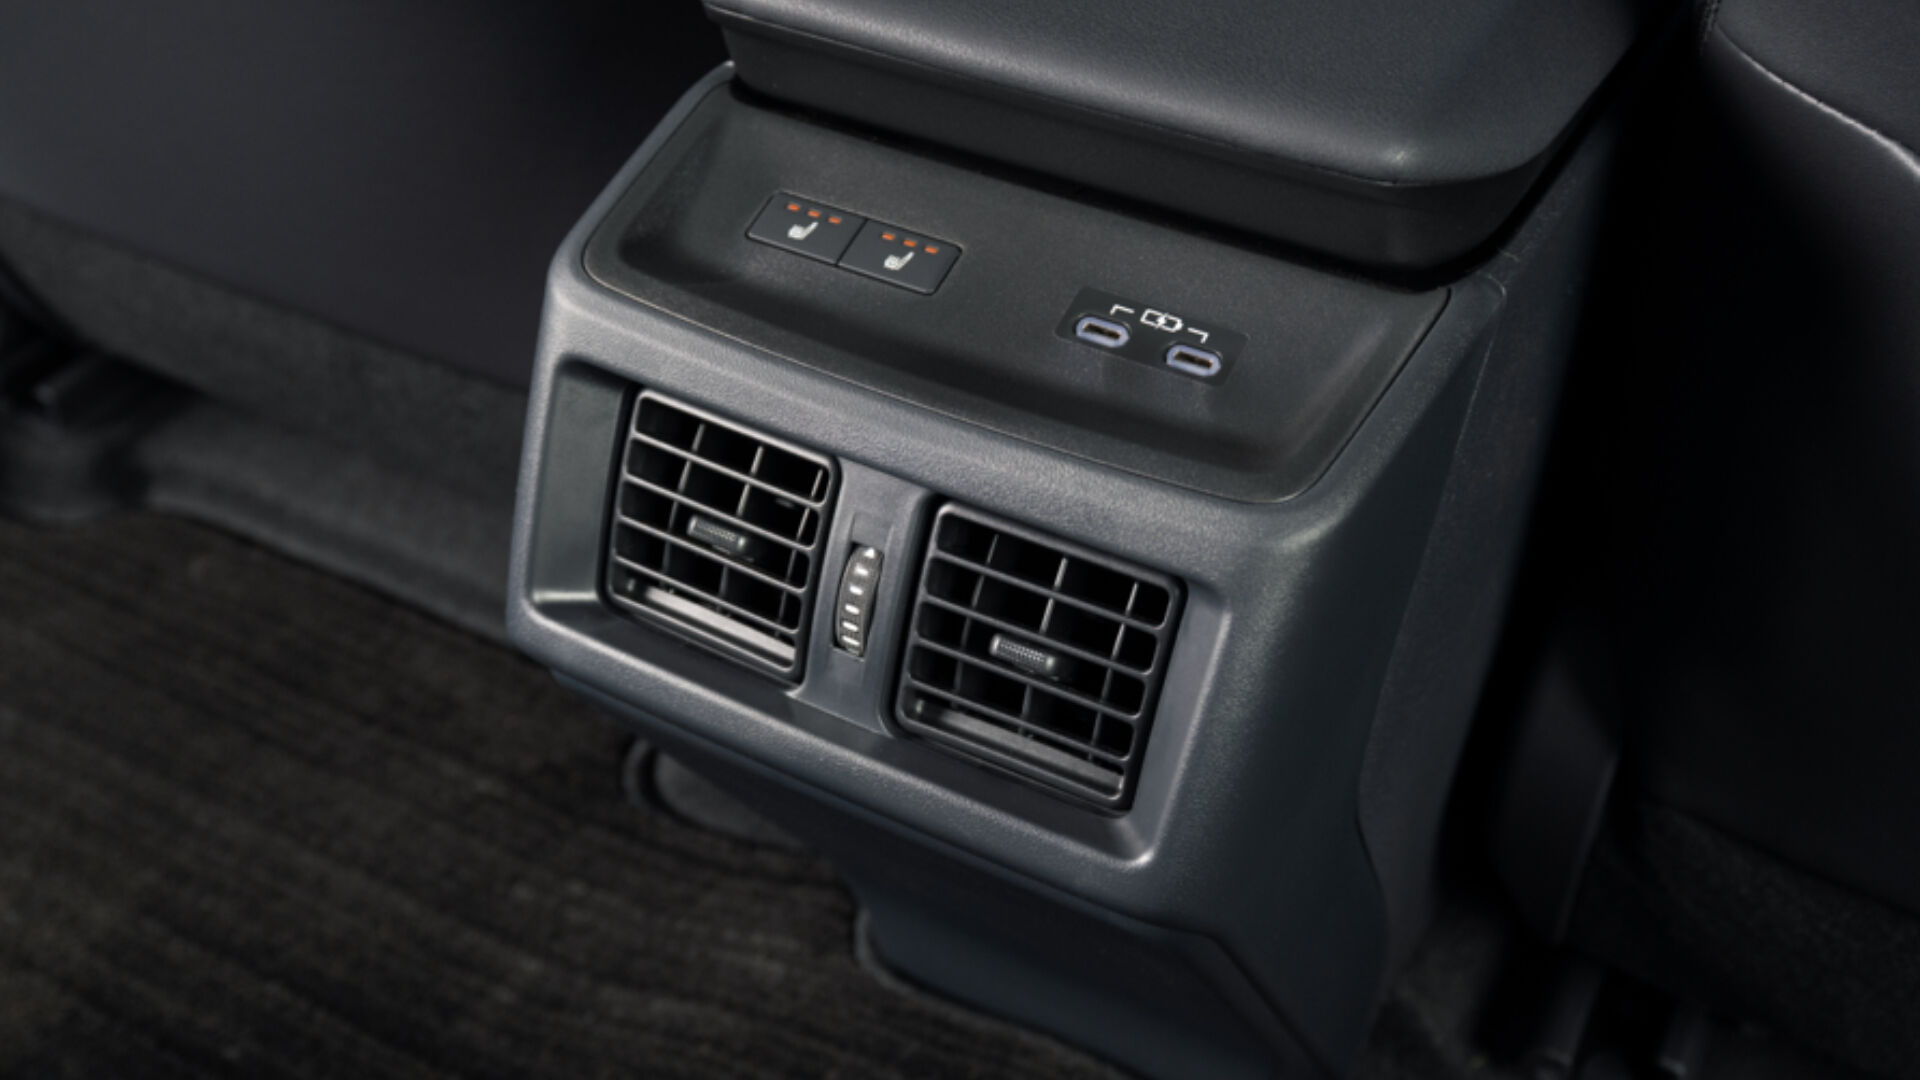
Model imagery
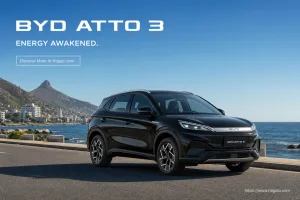
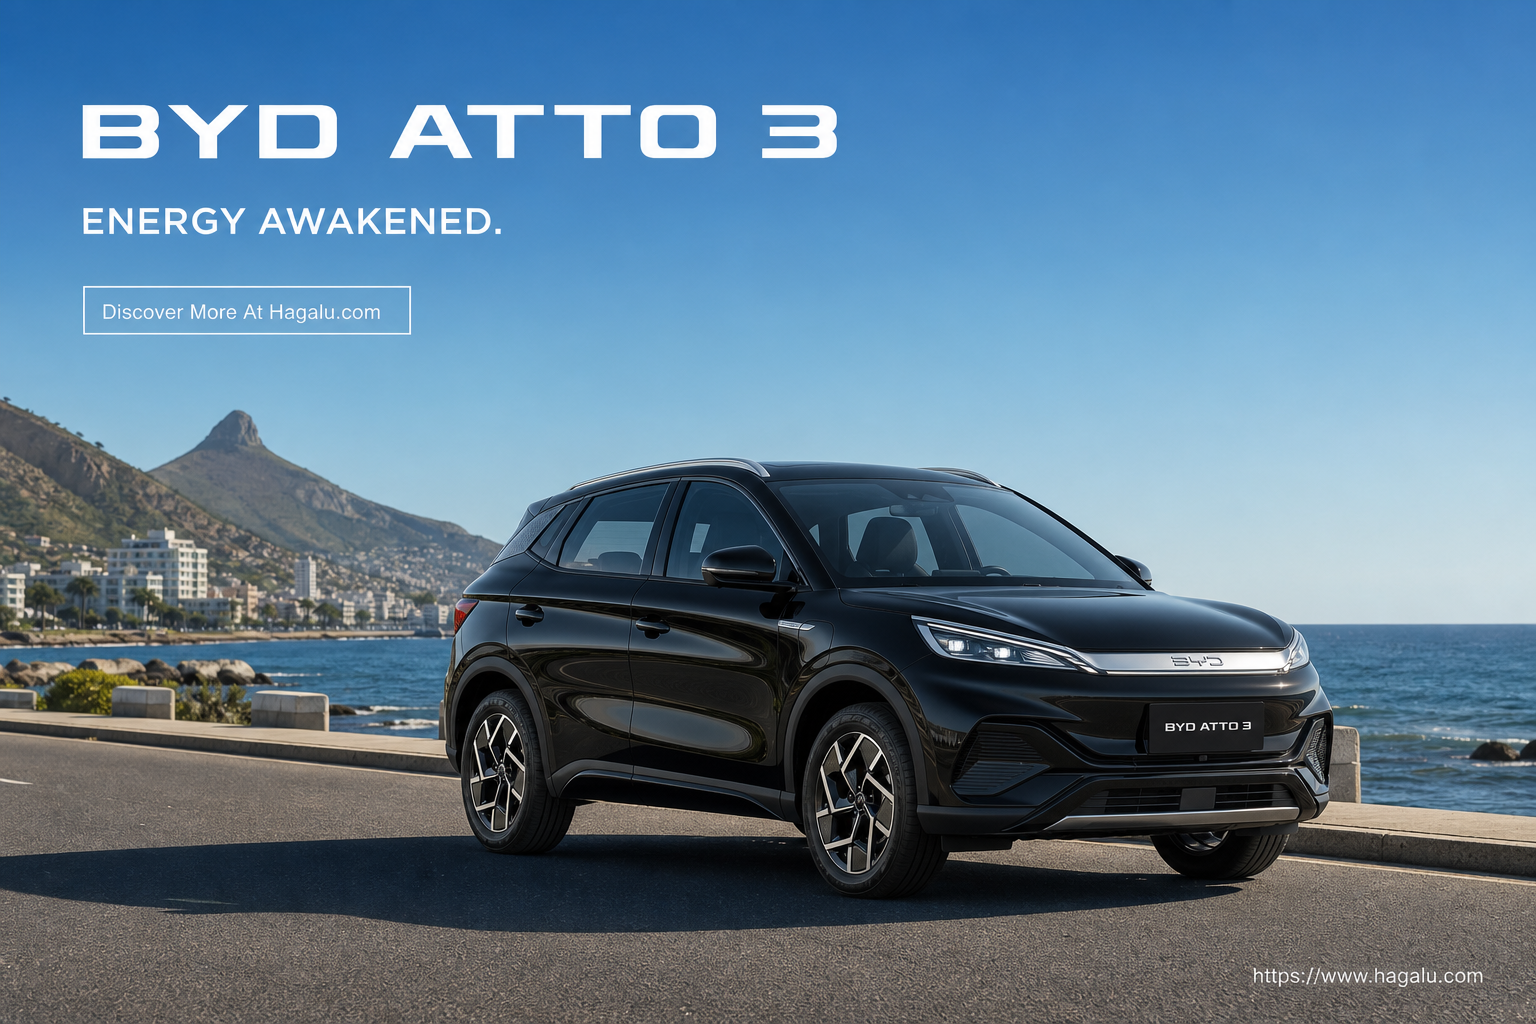
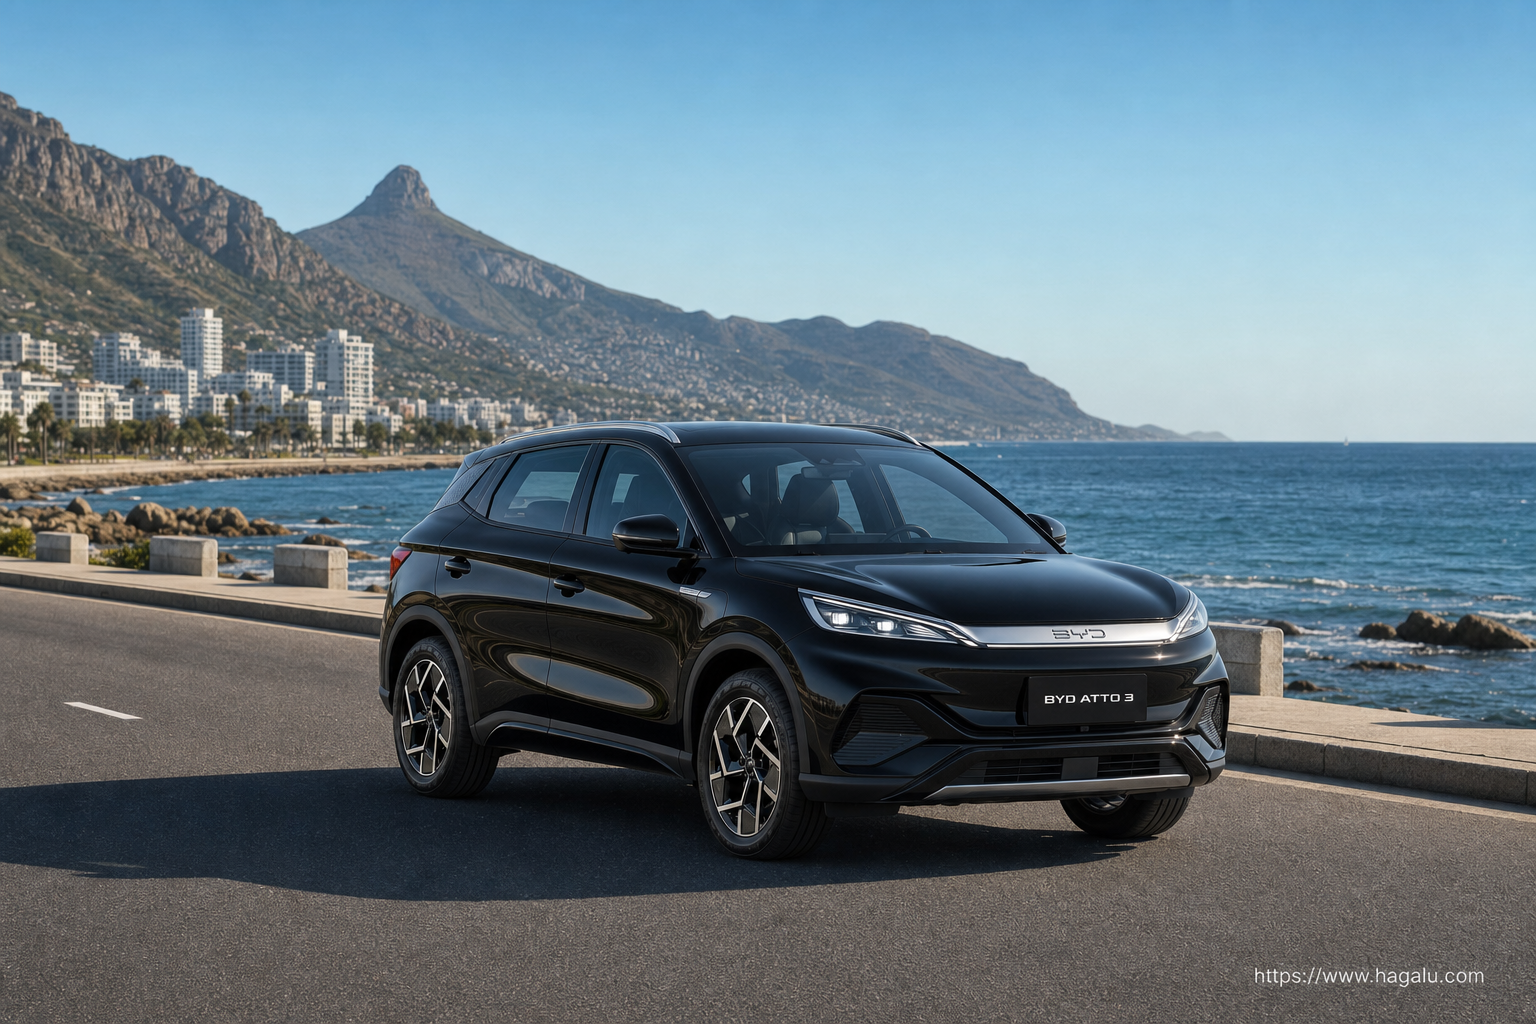
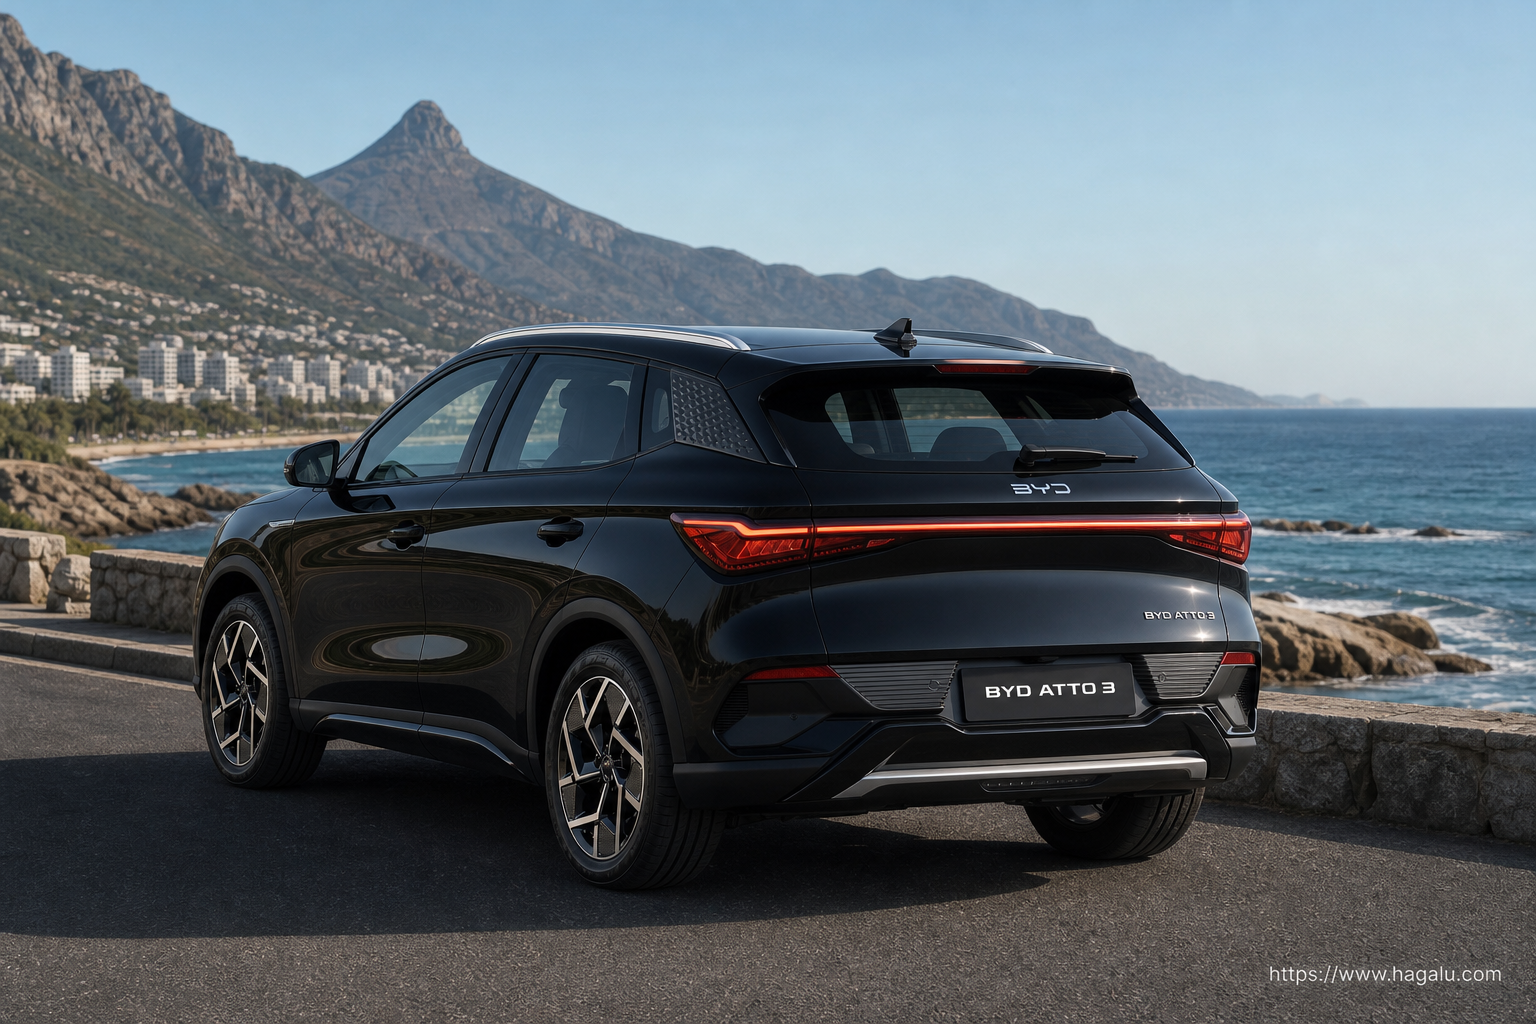
ATTO 3 and bZ4X image comparison
Open an image for its full canonical file or visit the model page for the complete vehicle record.
Specification Evidence Index
A transparent comparison of published catalogue fields. This is not a road-test score, owner rating or editorial review rating, and it appears only when every vehicle clears the same comparable-data threshold.
Evidence / 100
Evidence-index readout
bZ4X leads by 7 points
ATTO 3 and bZ4X are close on the comparable published fields, so buyer priorities should decide.
Evidence leader
82
/100
Lead
7
points
Data
61%
source coverage
82
#1
Evidence leader
bZ4X
61% source coverage
3 strong categories
Best at
Safety 94
Check
Practicality 62
Performance
82
Efficiency
91
Safety
94
Practicality
62
Leads by 7 points
75
#2
ATTO 3
69% source coverage
2 strong categories
Best at
Safety 99
Check
Practicality 51
Performance
65
Efficiency
90
Safety
99
Practicality
51
Performance 24%Safety 22%Practicality 22%Efficiency 17%Ownership 15%
Category leaders
What moves the verdict
Performance
bZ4X +17
Efficiency
bZ4X +1
Safety
ATTO 3 +5
Practicality
bZ4X +11
Close catalogue match. Buyer priorities should decide the outcome.
Why this score
View full breakdown
Evidence-index leader
bZ4X
What the evidence means
Evidence index
Toyota bZ4X
leads the specification evidence index with 82 pts
vs 75 pts for ATTO 3
In Hagalu's specification evidence index, bZ4X leads. However, ATTO 3 may suit buyers prioritising different confirmed fields. Ultimately, the right choice depends on your driving priorities in South Africa.
ATTO 3 vs bZ4X questions
Which is better — ATTO 3 or bZ4X?
+
There is no universal winner. Use the comparison table to match the models and available derivatives in South Africa on price, safety equipment, space, powertrain and ownership cover. The category indicators summarise published catalogue data; they are not a road test or customer rating.
Which is more fuel-efficient — ATTO 3 or bZ4X?
+
Compare the published consumption or mileage rows for the exact derivatives using the same unit and test basis. A catalogue figure is useful for like-for-like comparison, but traffic, speed, load, weather and driving style can change actual fuel use.
Which is the safer car — ATTO 3 or bZ4X?
+
Compare only equipment explicitly listed for each derivative, including airbags, stability control and driver-assistance systems. Confirm the exact trim with the manufacturer, and treat any independent crash-test result separately because equipment and ratings can differ by market.
Which is cheaper to own over five years?
+
A reliable five-year total cannot be calculated from catalogue data alone. Add the exact purchase and finance cost, fuel or electricity, insurance quotes, scheduled servicing, tyres and expected resale value. Check whether the selected derivative includes a service or maintenance plan.
Which is the better family car — ATTO 3 or bZ4X?
+
Use the seating, boot or load-space, ISOFIX and safety rows as a first check. Then test the exact cars with your child seats, passengers and typical luggage, because published dimensions do not show every access or comfort difference.
Which has more engine performance — ATTO 3 or bZ4X?
+
Compare the published power, torque and 0–100 km/h rows when they are available for both exact derivatives. Vehicle weight, gearing and power delivery also matter, so catalogue outputs alone do not establish real-world overtaking or response.